| Round 5 Conflict GT. Matt is playing German guys in halftracks. Mission is Free for All. Was a little suprised by the 5th round being a another Free for All (With rounds 1 and 2 being FFA and Encounter, respectively), but I won't complain - light tanks like FFA! |
Scott's Desert Rats
|
Matt's Guys in Halftracks
|
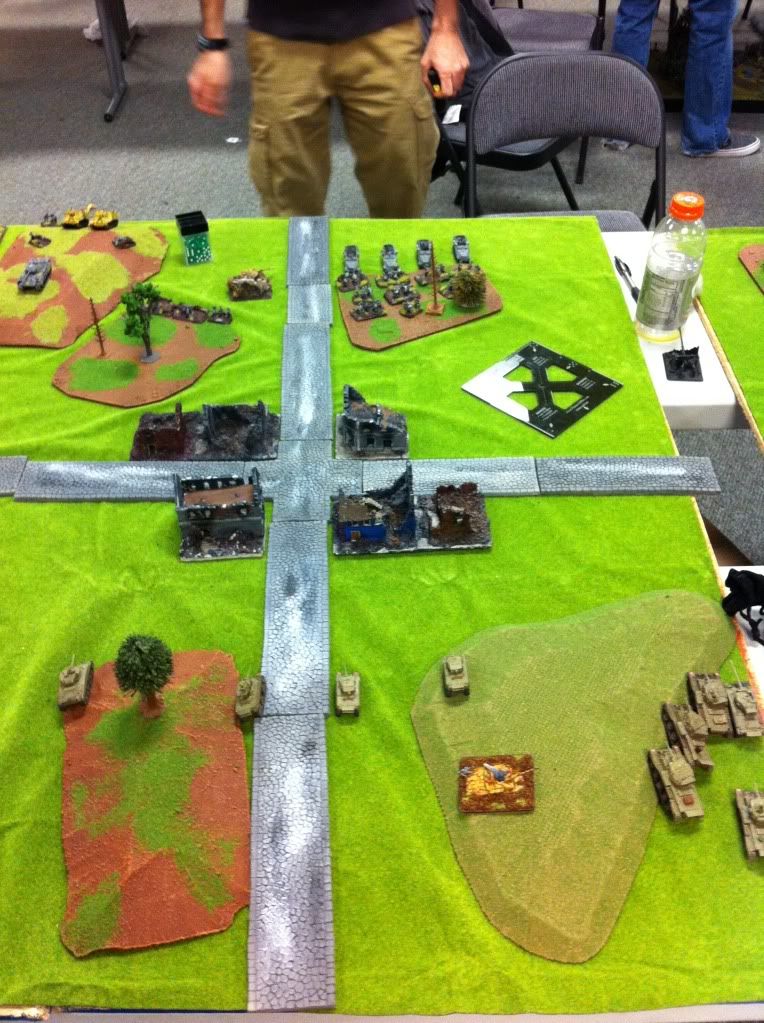
SETUP AND DEPLOYMENT
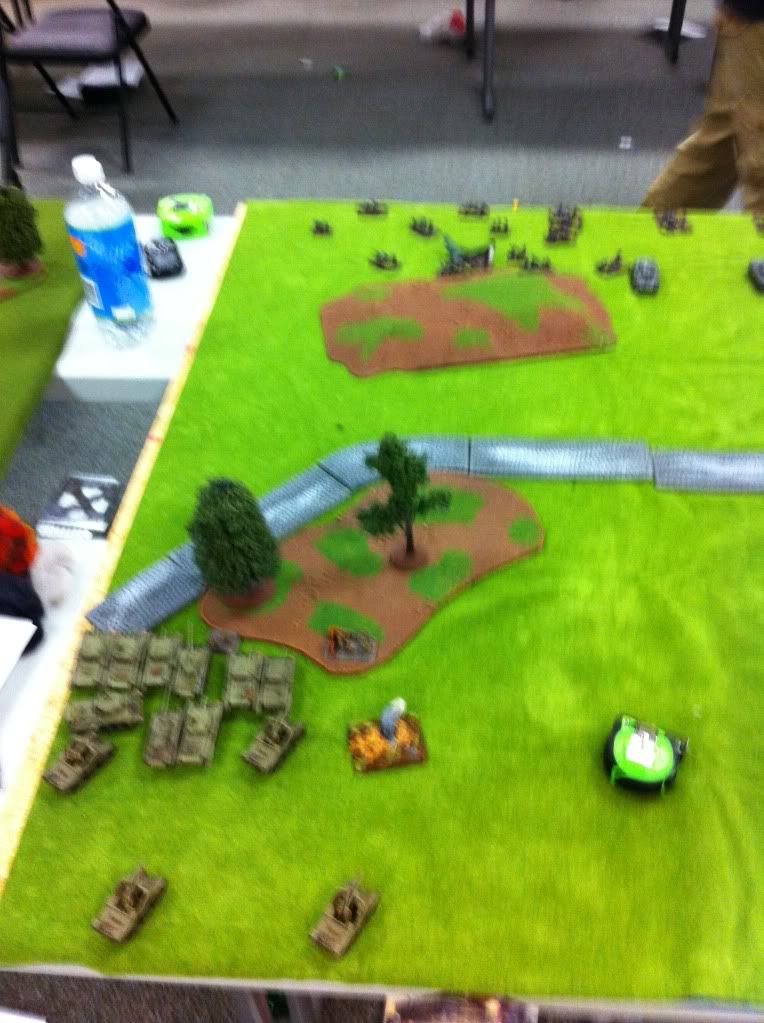 |
| My left side. Pile in the tanks. |
 |
| Went with a very weak right flank that he thankfully did not capitalize on. |
| Scott's Desert Rats |
Matt's Guys in Halftracks |
| Scott's Desert Rats: Two Cromwell platoons on the far left. One on the right. M10s in the middle. Stuarts on right. Matt's Guys in Halftracks: Two squads of guys on foot around objectives. One squad in their halftracks on my light right flank has me worried. Hornisse and Panthers deployed central. | |
TURN 1
| Scott's Desert Rats |
Matt's Guys in Halftracks
|
| Scott's Desert Rats: M10s move up and killa Hornisse from long range. Everything else moves up as far as it can go. Matt's Guys in Halftracks: Matt fails to dig in with EVERY SINGLE PLATOON. That probably cost him the game right there. Panthers kill 2 M10s. | |
TURN 2
Scott's Desert Rats
|
Matt's Guys in Halftracks
|
| Scott's Desert Rats: Cromwell MG on the far left unload into un dugin infantry and mortars. Wipe out the mortar squad and lots of infantry. Stuarts take out one HMG with shooting. Matt's Guys in Halftracks: After seeing the horrible losses on the left side, Matt elects to double time his half track guys across the board. I breathe a sigh of relief as they are not pushing my weak right flank. Panthers kill a few Cromwells here and there. | |
TURN 3
 |
| Stuarts finish off HMG platoon and site snuggly in trees on objective. Out of the camera though is a full strength boots platoon to their right in another forest. |
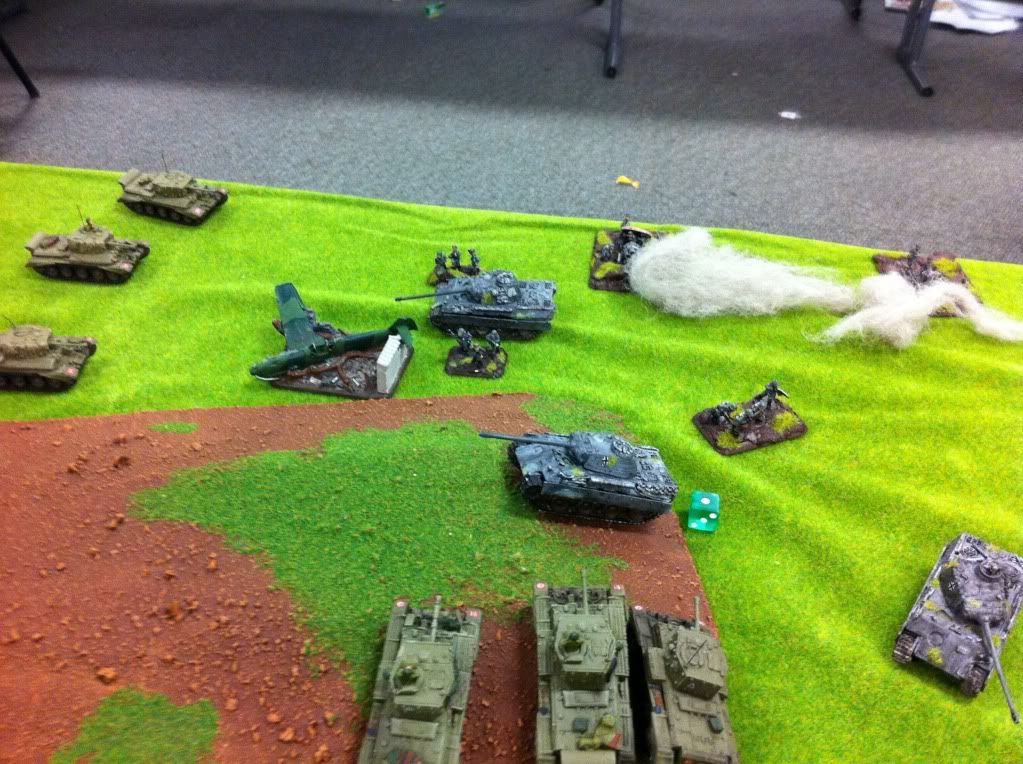 |
| Infantry on the left die to a torrent of HMG shots, and Cromwells line up for side shots on Panthers, but fail to kill any. |
Scott's Desert Rats
|
Matt's Guys in Halftracks
|
| Scott's Desert Rats: Two living M10s have double shots on halftracks. Kill 3 tracks, all passengers die. Bail a 4th track. Platoon stays on my turn, but fails last man standing on his. Stuarts assault and kill off HMG platoon. Matt's Guys in Halftracks: | |
TURN 4
Scott's Desert Rats
|
Matt's Guys in Halftracks
|
| Scott's Desert Rats: I am sitting on both objectives, but they are both contested. The left side has two infantry stands and a CiC intermingled with 3 Panthers, so assaulting looks grim. Matt's Guys in Halftracks: Matt brings the infantry out of the woods near the Stuarts and assaults them. The Stuarts grind them down in assault, eventually being wiped out, but reducing the boots squad to 2-3 stands. | |
TURN 5
Scott's Desert Rats
|
Matt's Guys in Halftracks
|
| Scott's Desert Rats: On my turn 5, the right flank Cromwells move up, shoot, and assault the infantry left over from the Stuart assault the previous turn. They consolidate into a nice wall blocking Panthers from getting to the objective to contest. I will win at the start of turn 6 unless I fail company morale... Matt's Guys in Halftracks: ...and Matt attempts to break my company. He reduces the M10s and 2 Cromwell squads to below half, so I have three platoons to make a reluctant morale test, or I lose, as I used my CiC earlier in the game to soak a Panther hit. One platoon of Cromwells run, along with the M10s, but one platoon remains! | |
TURN 6
Scott's Desert Rats
|
Matt's Guys in Halftracks
|
| I was suprised at the last turn comeback grab Matt accomplished. I ended up barely pulling a 4-3, just one 5+ roll from losing on company morale. It was a very fun game with a lot of swinging back and forth. I think if all his squads did not fail to dig in on turn 1, it would have ended very differently! |
Generated by WWPD's BatRepper Software.
No comments:
Post a Comment