| Round 4 of Conflict GT. Mission is Breakthrough. I am the attacker. |
Troy's German Guys in Halftracks
|
Scott's Desert Rats
|
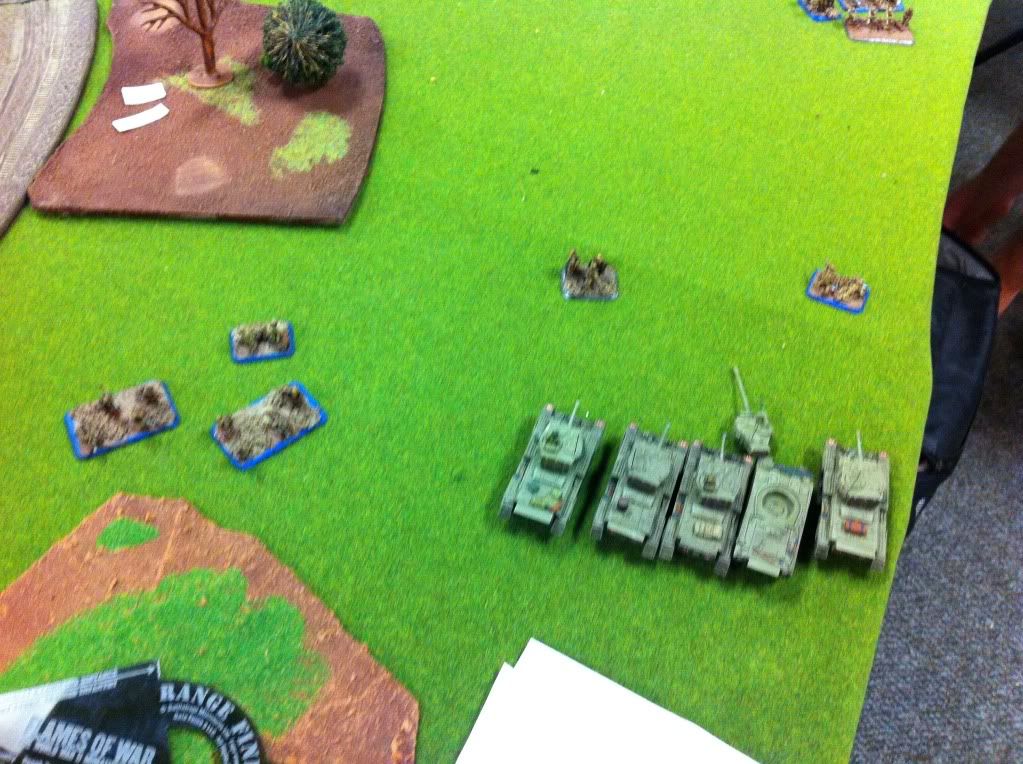
SETUP AND DEPLOYMENT
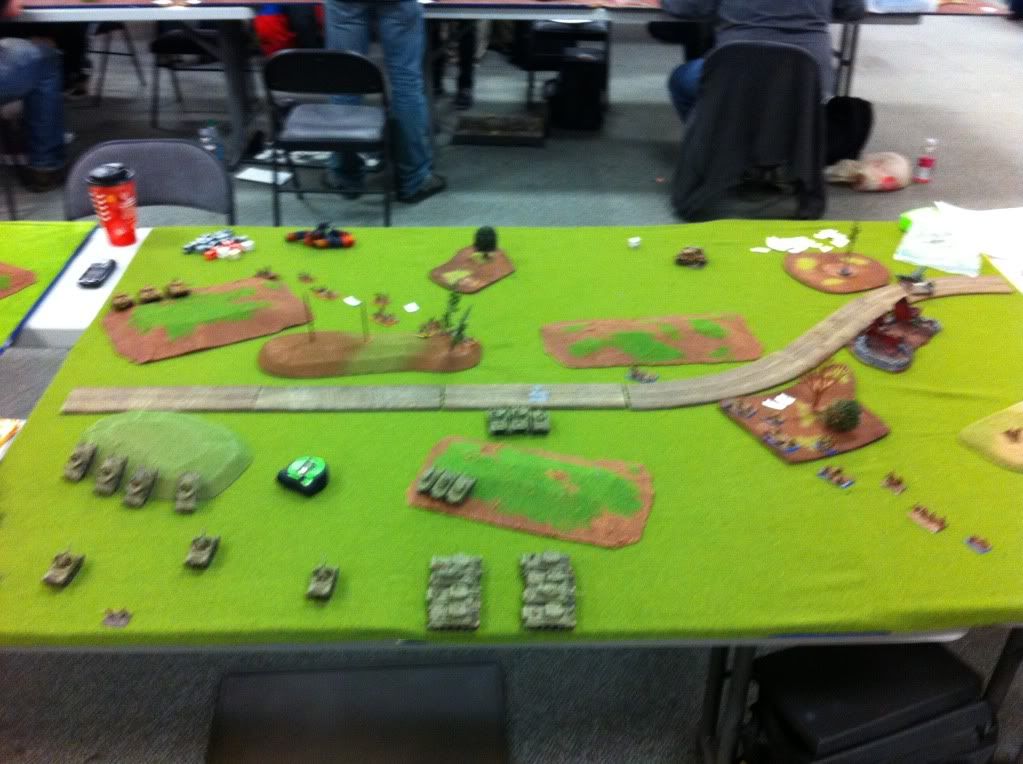 |
| Deployment overview |
Troy's German Guys in Halftracks
|
Scott's Desert Rats
|
| Troy's German Guys in Halftracks: Guys deploy in boots, kinda trying to wall me in, but weak in center. Scott's Desert Rats: Sextons in back corner. Two squads of Cromwells and Stuarts kinda in my mid area, facing towards the nebs, but planning to abuse the 16-inch move to push the weak middle. | |
TURN 1
 |
| The door has been opened! |
Troy's German Guys in Halftracks
|
Scott's Desert Rats |
| Troy's German Guys in Halftracks: His turn one does nothing special. Panthers miss M10s. Scott's Desert Rats: Cromwells able to kill a single infantry stand in the middle of the board, opening the middle up to move through. | |
TURN 2
 |
| Panthers run away from the hail of oh-so-very-scary Sextons |
Troy's German Guys in Halftracks
|
Scott's Desert Rats
|
| Troy's German Guys in Halftracks: Panthers kill one M10, bail another. Nebs bail CiC, who will not get back in for a long time. Scott's Desert Rats: Stuarts doubletime towards the objective. Cromwells follow, but do not double time. I forgot that I couldn't win until turn 6, so here I am charging the objective on turn two for no particular reason. | |
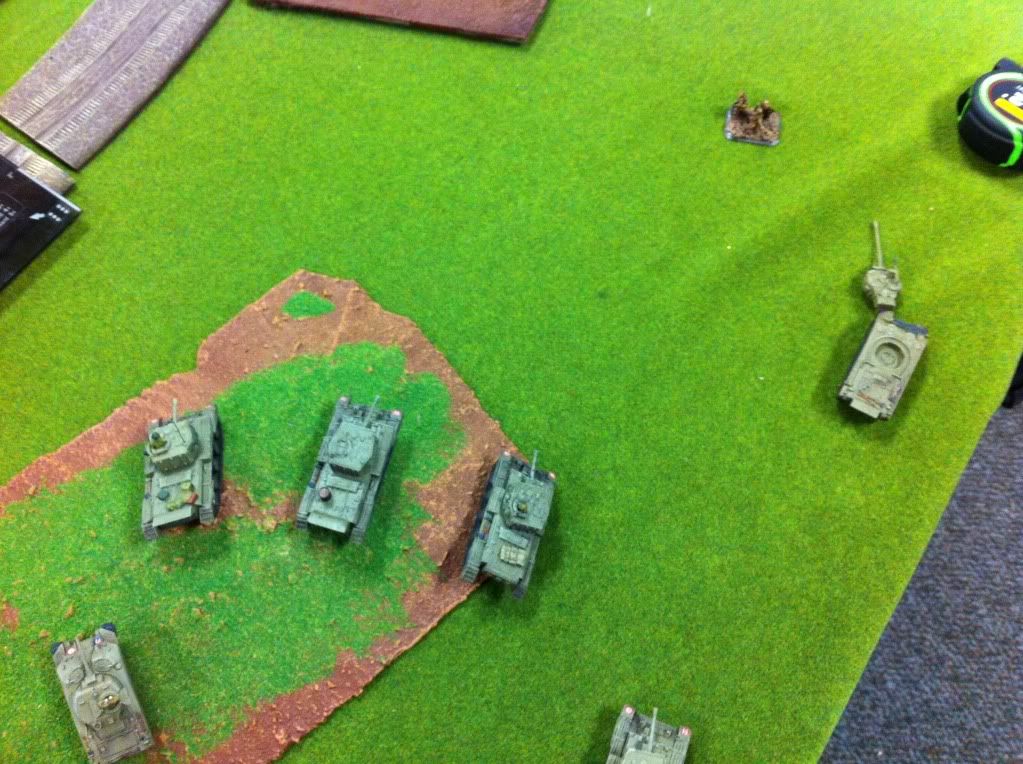
TURN 3
 |
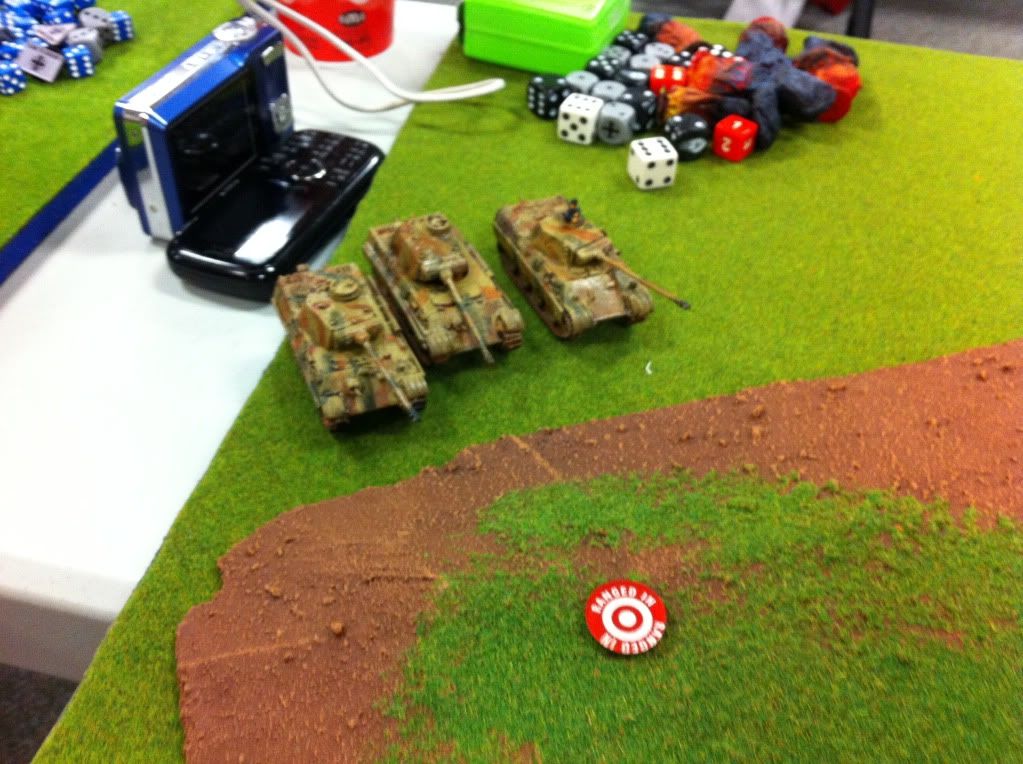
| Tigers pop out and kill a firefly |
 |
| Cromwells go neb hunting |
 |
| Cromwells take revenge for the Stuarts, but fail to kill both, allowing the other to drive off |
Troy's German Guys in Halftracks
|
Scott's Desert Rats
|
| Troy's German Guys in Halftracks: AA halftracks (3.7cm) come on an shoot the double timed Stuarts, killing one. Scott's Desert Rats: Cromwells move up to take out Aa halftracks - kill one. | |
TURN 4
Troy's German Guys in Halftracks
|
Scott's Desert Rats
|
| Troy's German Guys in Halftracks: The remaining AA halftrack drives off the board and is sent to the rear. Tiger takes out another squad's firefly. Scott's Desert Rats: Cromwells kill off the nebs. | |
TURN 5
 |
| Boots charge M10s, killing off 2. Squad will need to take that fun reluctant morale now.... |
 |
| ...but they like it. |
 |
| Wall of Cromwells holds off an infantry platoon on the bottom flank.... |
 |
| ....and then counter attack to wipe them out. |
Troy's German Guys in Halftracks
|
Scott's Desert Rats
|
| Troy's German Guys in Halftracks: Troy sets up to charge some Cromwells, but fails to bail them prior to assault, so the assault fails. Scott's Desert Rats: M10s take heavy losses in assault, but the solo survivor manages to hold. Cromwells drive over some boots a lot. Some cromwells on the north end of the board make a living wall of steel to slow the Panthers advance so they won't be able to get on the objective. | |
TURN 6
Troy's German Guys in Halftracks
|
Scott's Desert Rats
|
| Troy's German Guys in Halftracks: I think Troy blows up about half of "wall of living steel" I laid in front of the Panthers, but I didn't record it. The survivors stayed on morale, and the deceased did their job well slowing down the Panther advance. Scott's Desert Rats: Starts turn on the objective | |
| 6-1 Victory for the Desert Rats, although was would have been a 5-2 if not for a super lucky morale roll on the M10s. I was on the objective turn two, so it was just a matter of becoming the "defender" and keeping him off. |
Generated by WWPD's BatRepper Software.
No comments:
Post a Comment