Those that know me know that I have the "unique snowflake" syndrome when it comes to wargaming armies - I want to play the army that no one else plays, or often has even heard of. Thus when Red Bear came out, the Polish Home Army immediately caught my eye.
The base for the list is Fearless Conscript, which I'm sure turns a lot of people off. However, a lot of the units can be Fearless Trained. The two combat companies are the AK Piechoty Company (FC) which consists of squads of 5 rifle teams. One squad can be upgraded to Pioneer rifles, and one stand in the entire company can be swapped for a piat, and one for a homebuilt flamethrower. At full size, you pay 235 points for 14 rifle stands, 5 pioneer rifle stands, 1 flamerthrower, and one piat. Not terrible, although the chances of getting a successful assault off are near zero.
The other combat company is a Kedyw company. These guys are interesting in that they are Fearless Trained, and every stand can be upgraded to a Panzerfaust. Also, they can swap one out for a flamethrower. They also have the options of gammon bombs and adding piats. 215 points gets your 8 SMG teams, 1 SMG panzerfaust command team, and upgrades all the SMGs to have gammon bombs. In a more tank-aggressive meta, 265 points gets you 9 panzerfaust SMG teams.
In the weapon companies, they can take some fairly cheap, albeit conscript, mortars. But conscript mortars smoke just as good as veteran ones. They can take a squad of ATG, with two conscript Pak40s tallying up to 70 points, which isn't terrible, although I'm not a huge fan of gun teams in general.
In divisional support, they get one armored option. They can take EITHER one or two panthers, a tiger, a PZ4, a tiger and pz4, or a hetzer. All of the tanks are RoF 1, and rated at Fearless Trained. The 2 panthers run 330 points, which for some reason is a lot more than 2 Soviet trained panthers. Nonetheless, I am leaning towards the double panther option due to my lack of direct fire AT elsewhere. They can also take up to 6 conscript 105s, and a strelkovy blob.
My current plan for 1575 is:
HQ w/ 2 Fausts: 40
AK Piechoty Company, full size, w/ pioneers: 260
Kedyw Company, full size, all panzerfausts: 265
Kedyw Company, full size, all panzerfausts: 265
AK Mortar Company, 6x captured German 8cm: 100
Kedyw Tank Platoon, 2x Panther: 330
AK Artillery Battery, 6x 10⁵, w/ observer: 195
4x Street fortifications: 120
1750 is harder to run with this list, as you literally can end up filling every box. I'd probably run the above, and add on the Pak40s, 2 armored cars (not recce), and perhaps some HMG and combat attach them.
Thursday, January 19, 2012
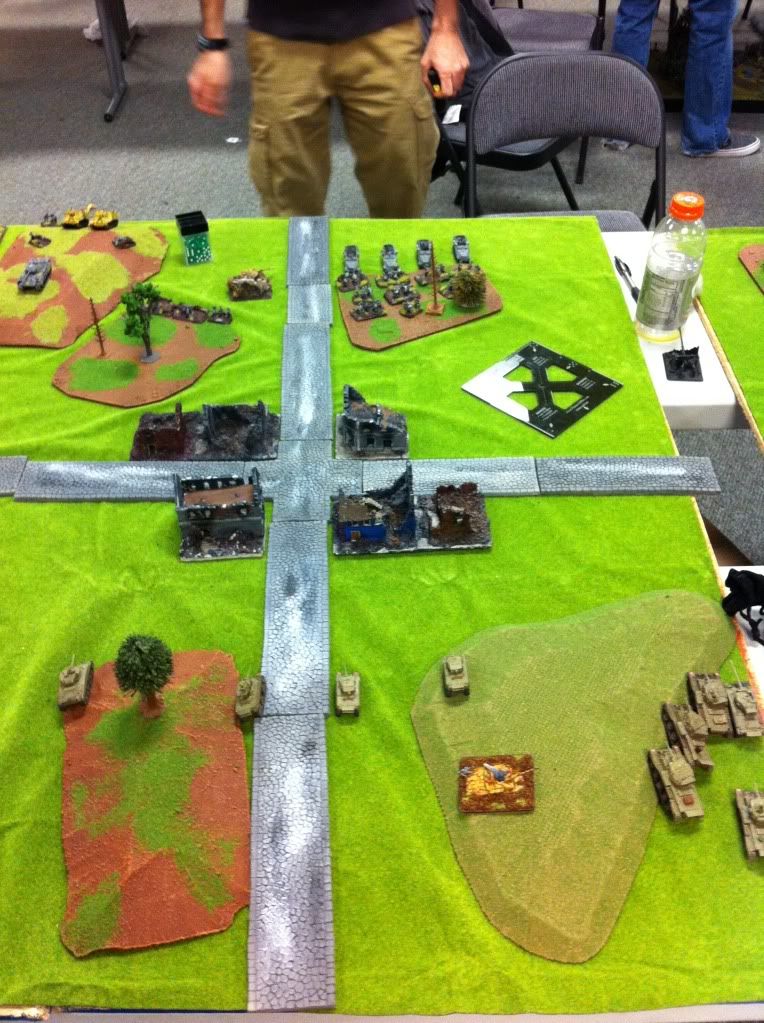
Polish Lancers vs Bersaglieri 1500
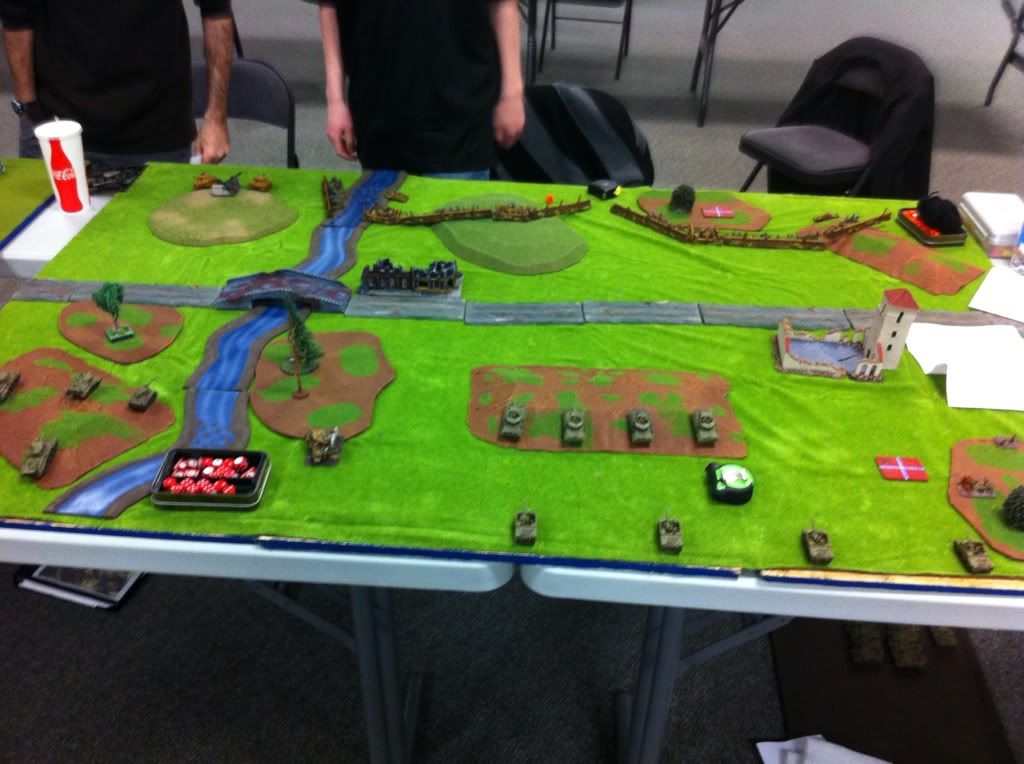
| Huzzah Hobbies got their Battlefront train tracks in today, so we had two tables set up with them in the shop today. What a great occasion for some armored train action! Alex is playing Bersaglieri; mission is ecounter. This mission went very quickly and wasn't the funnest for either of us, but I wanted to post pictures of hooves and trains, so here it is. |
Scott's Polish Lancers
| Alex's Bersaglieri
|
SETUP AND DEPLOYMENT
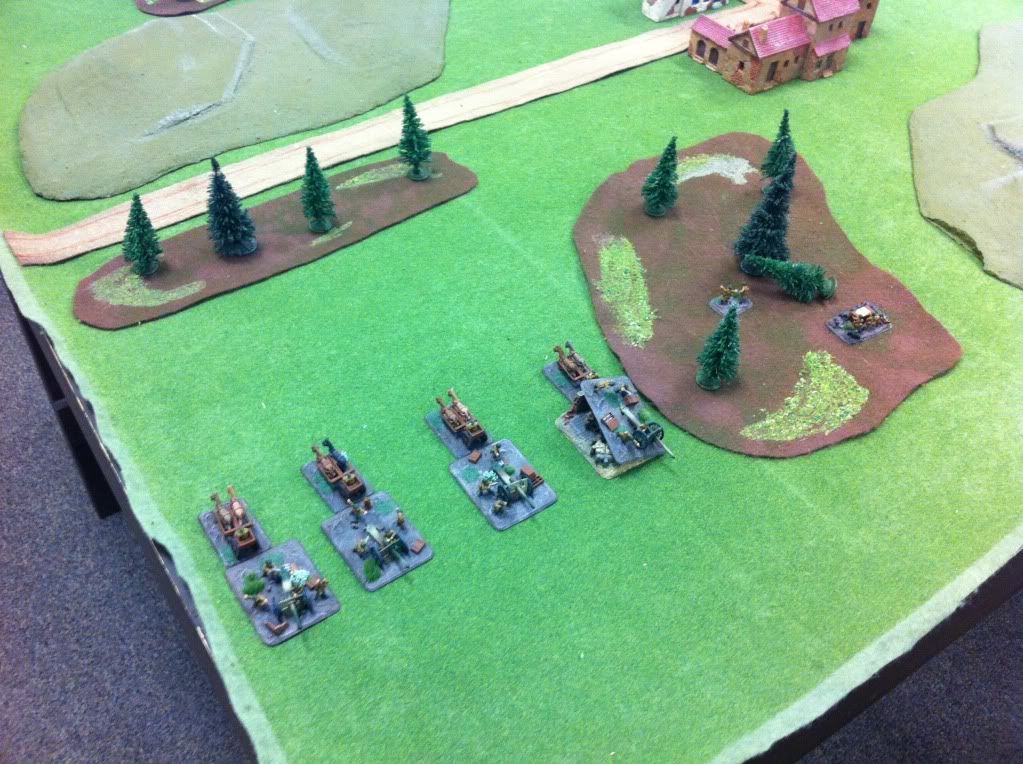 |
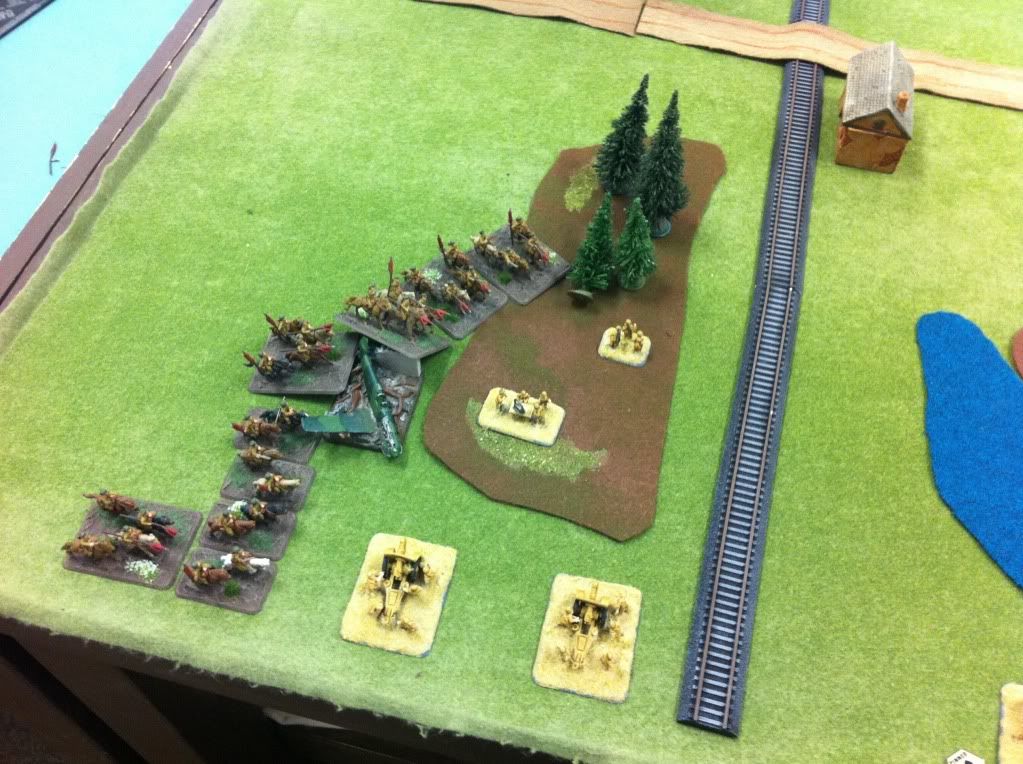
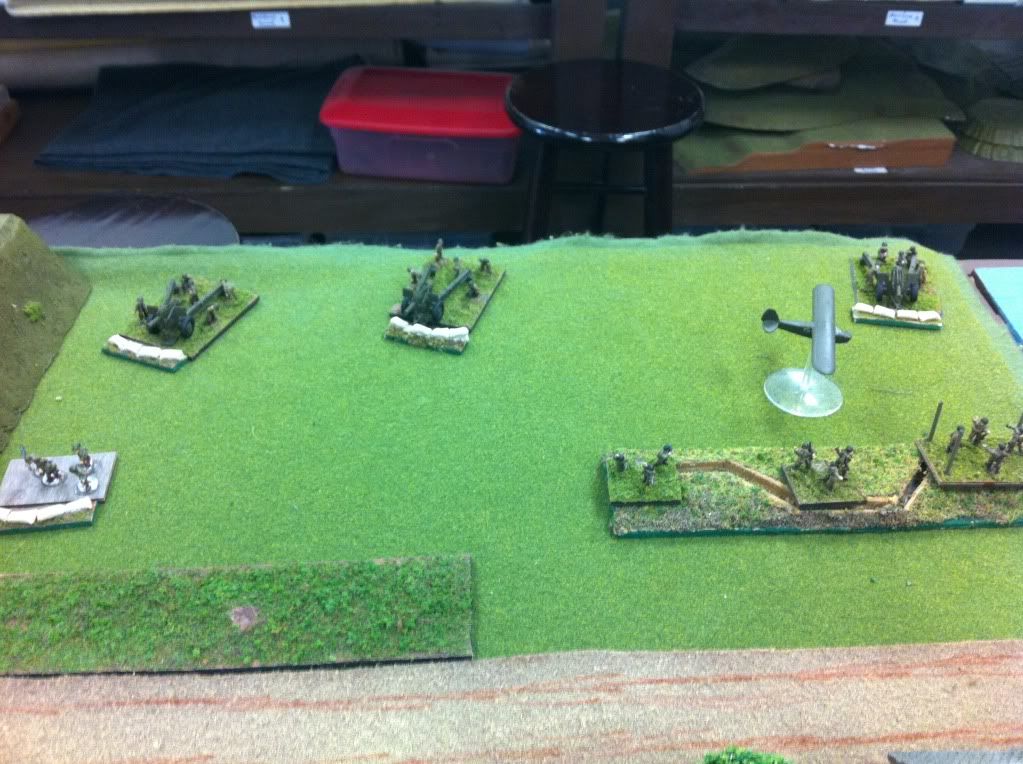
| 75mm ATGs start on my far left |
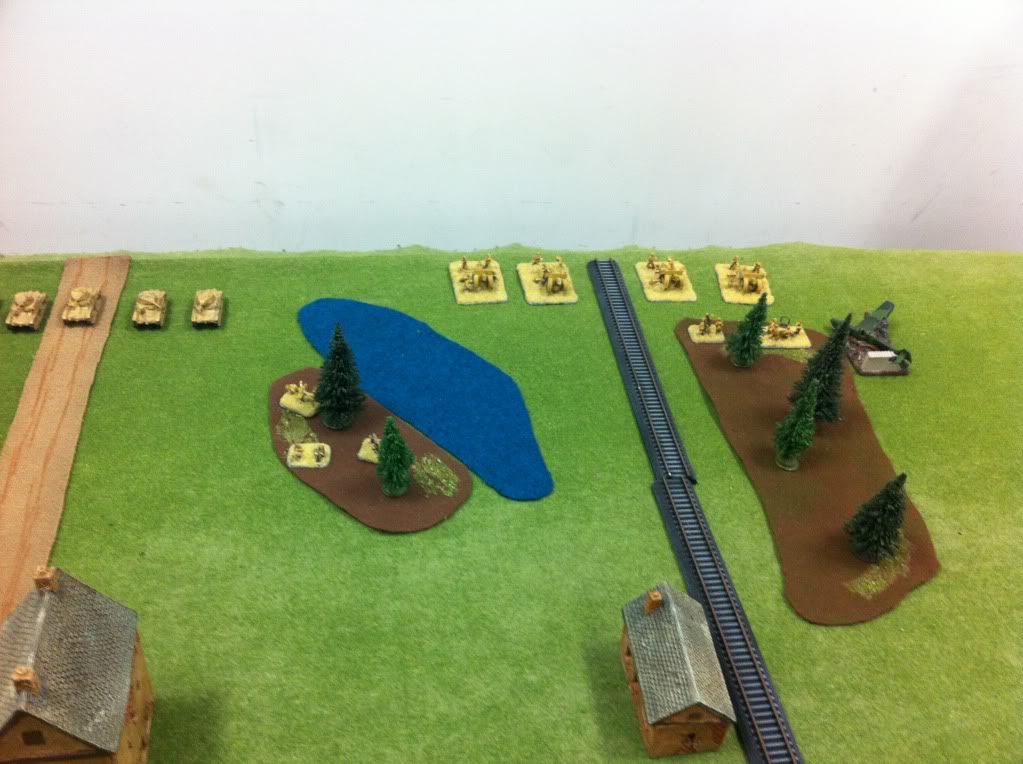 |
| Innocent looking 100mm arty sitting on an objective in the corner |
 |
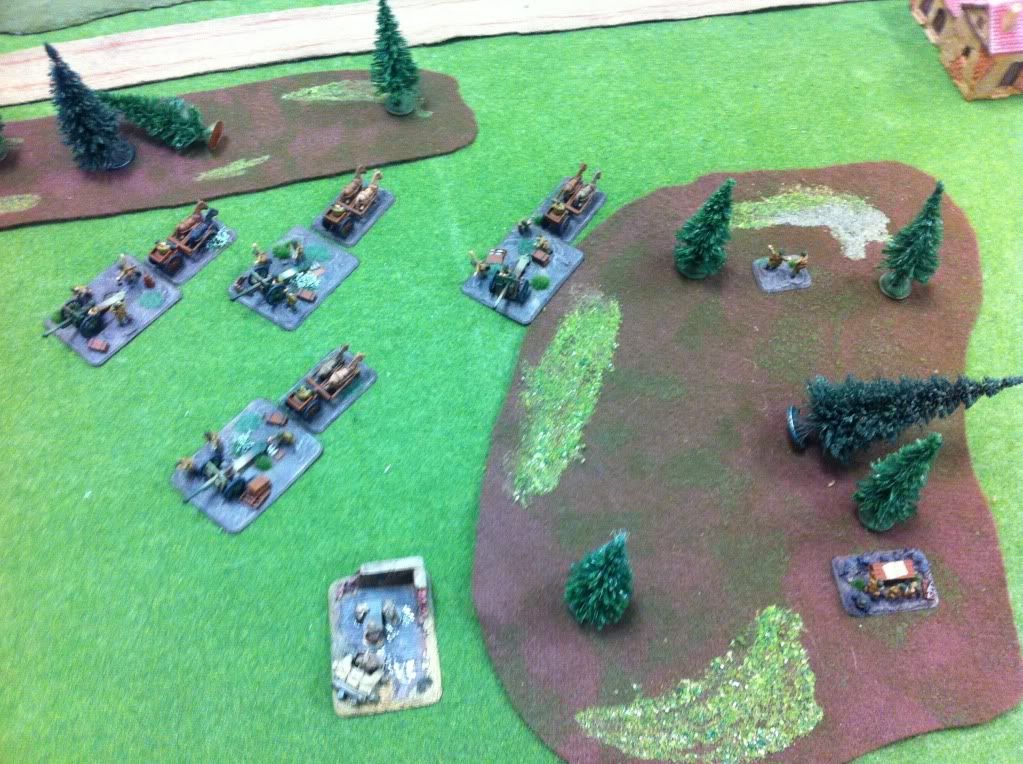
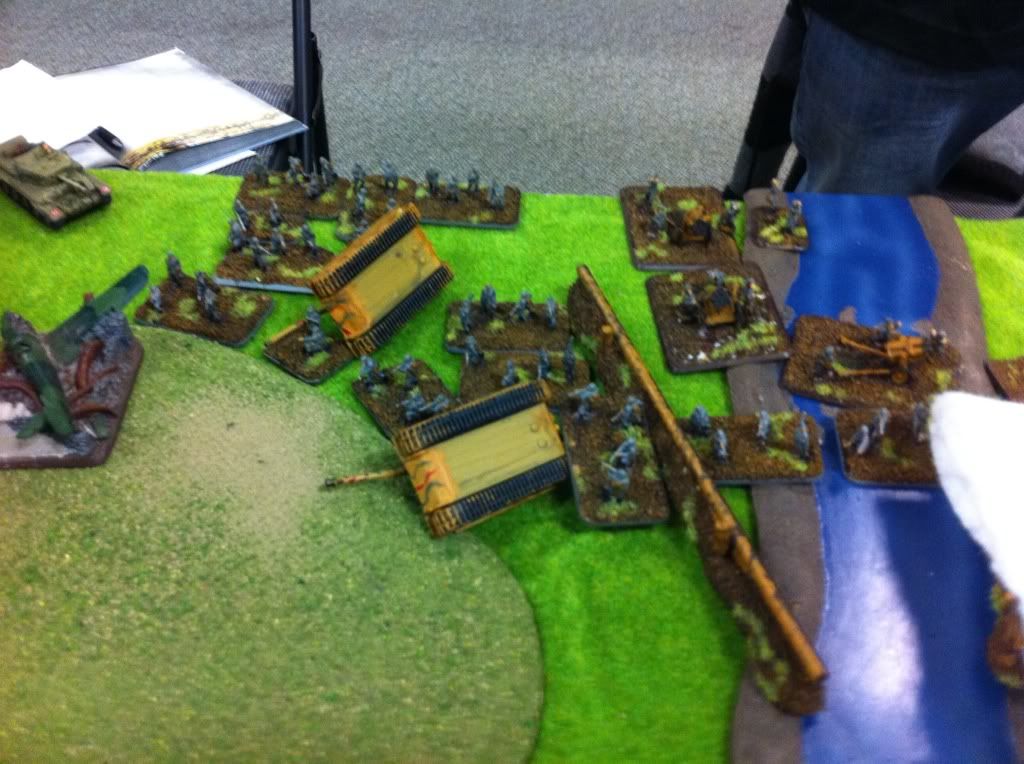
| Some Italians huddled up on the woods. |
Scott's Polish Lancers
| Alex's Bersaglieri
|
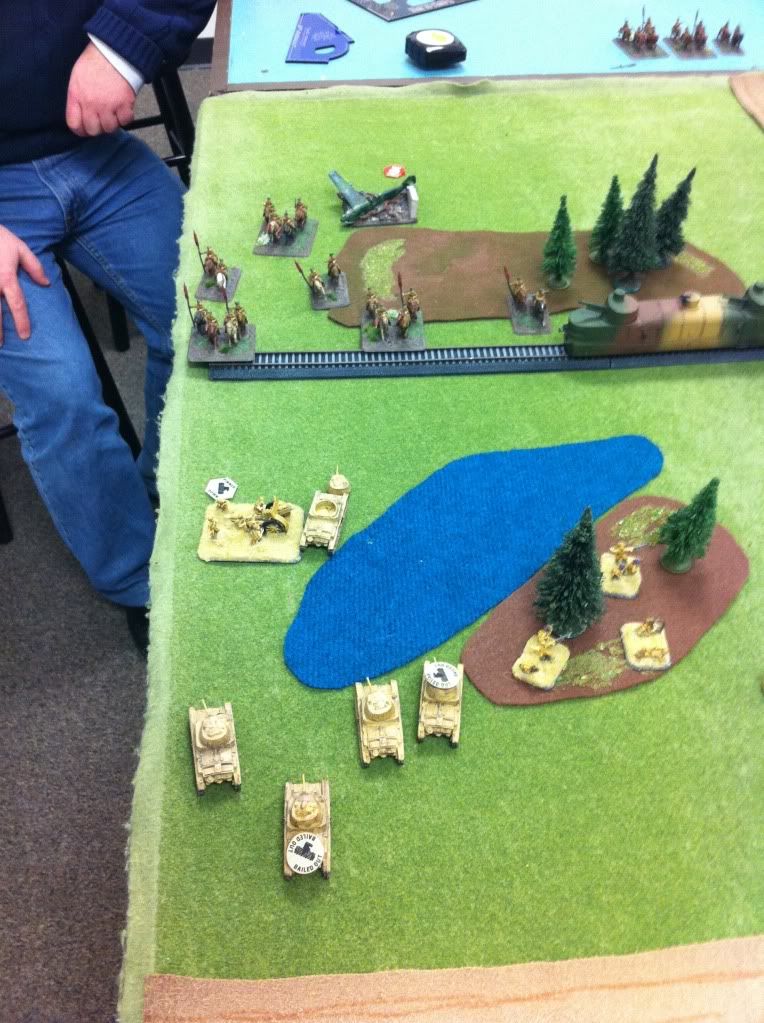
| Scott's Polish Lancers: 75mm ATG in the corner. Train drives on turn one. Hooves are bypassed. Alex's Bersaglieri: Carris in the middle. 100mm arty on one objective, boots on the other. | |
TURN 1
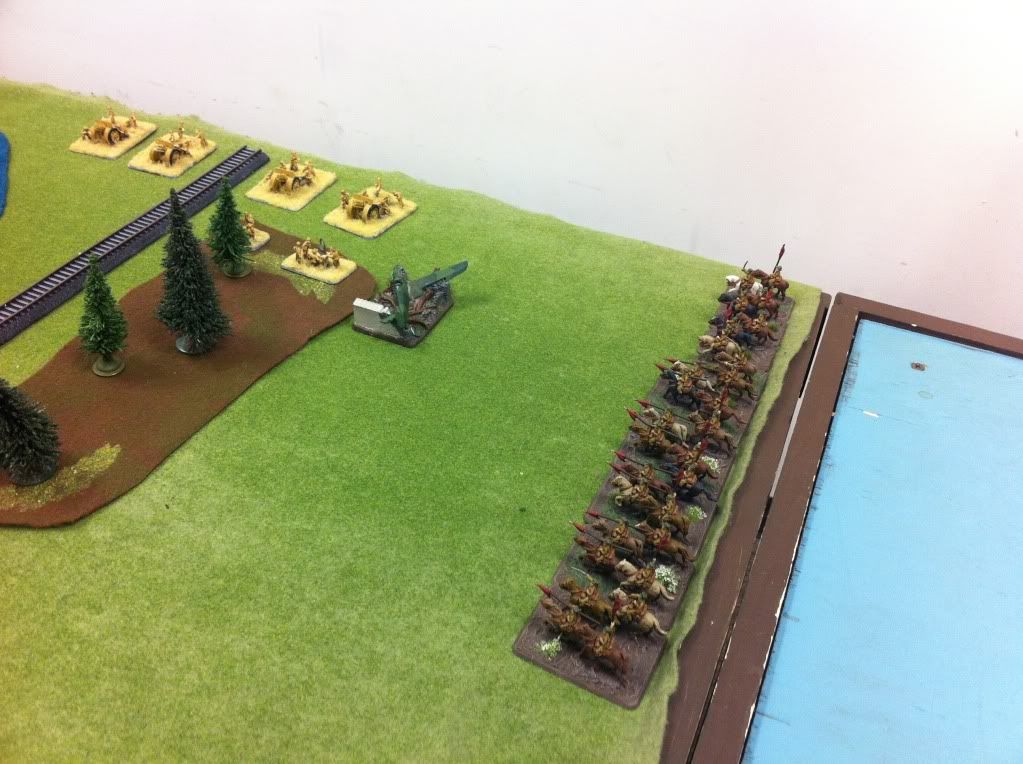 |
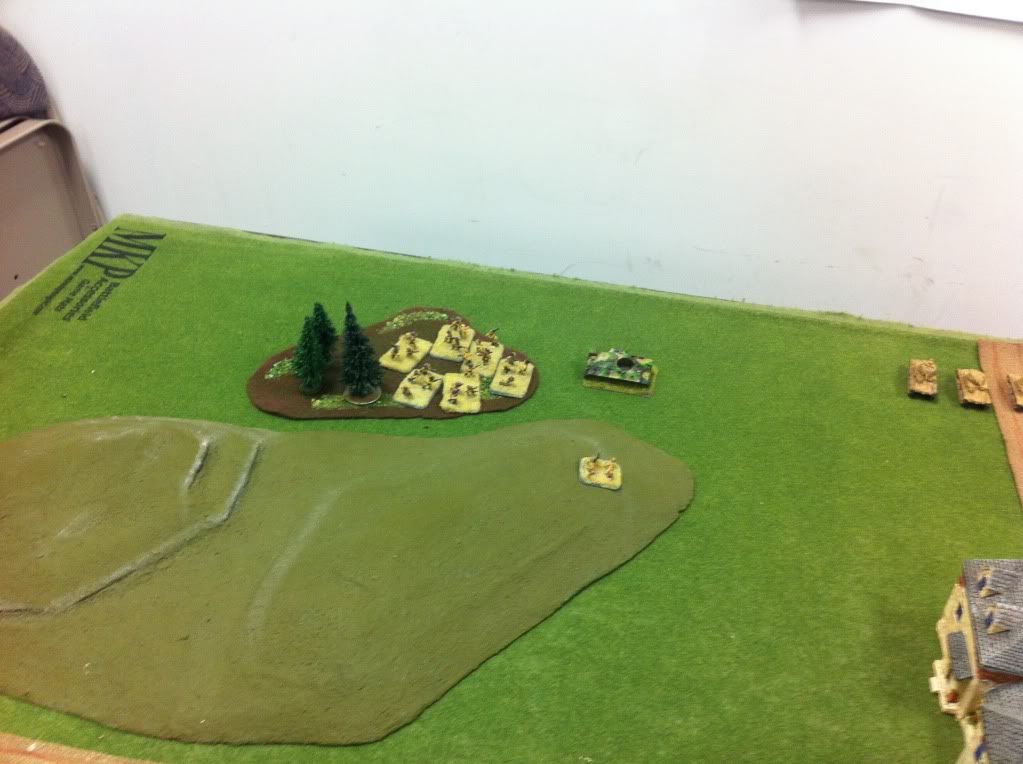
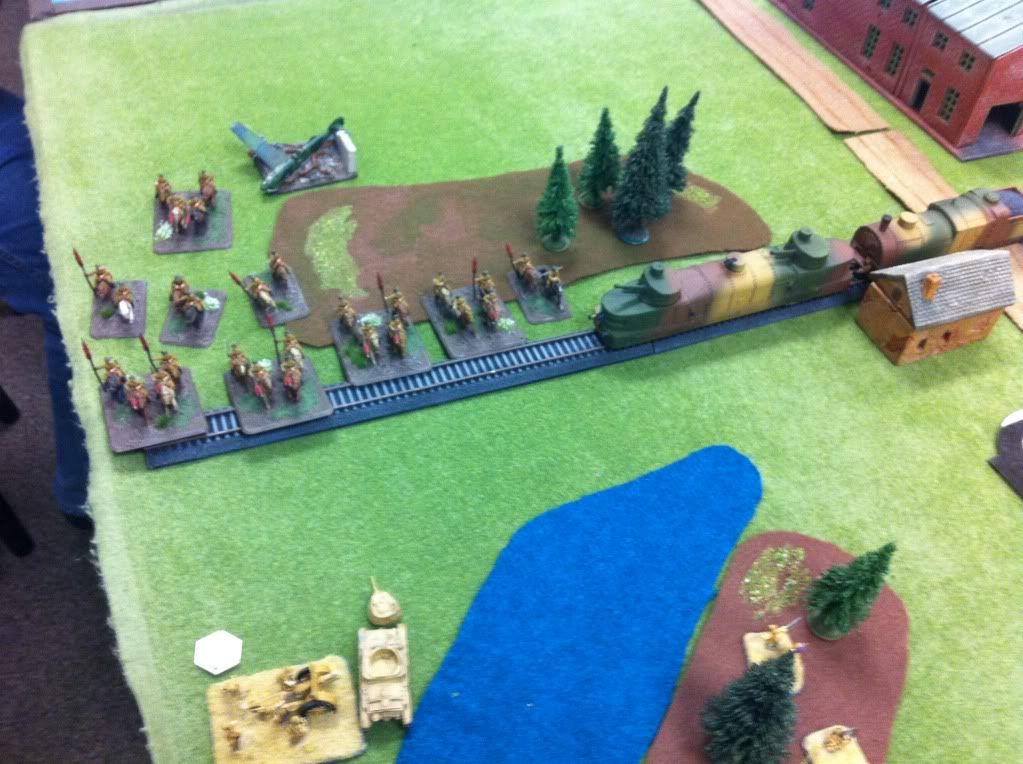
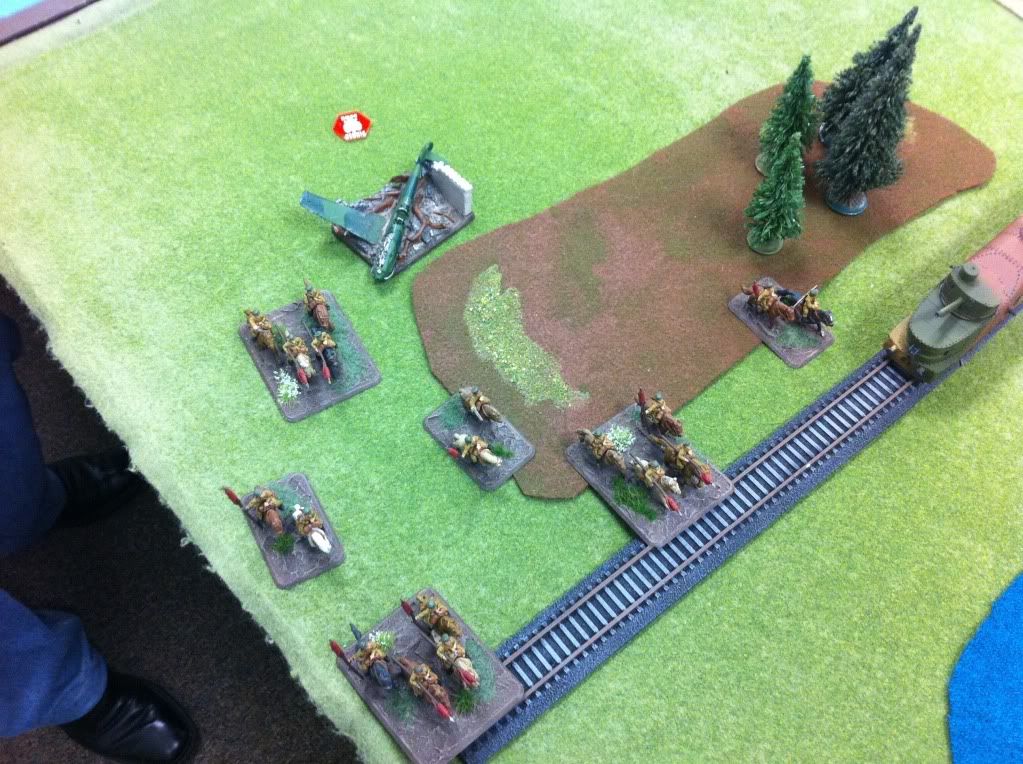
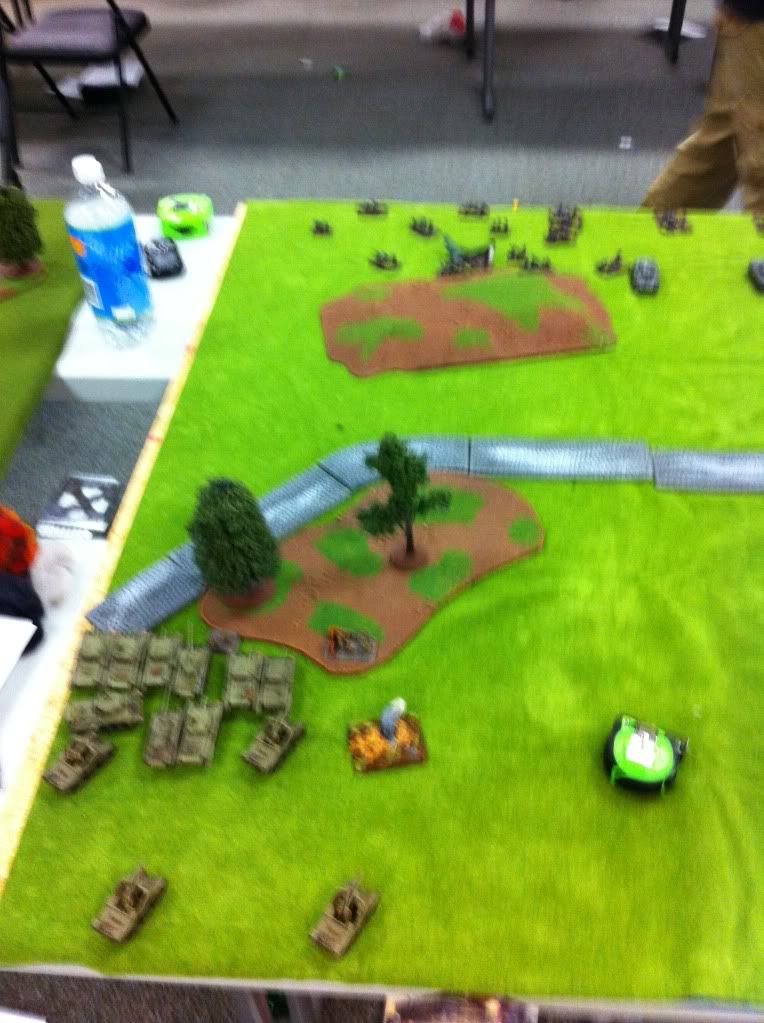
| Bypassed hooves show up on my far right flank, just inches from an objective guarded by artillery. |
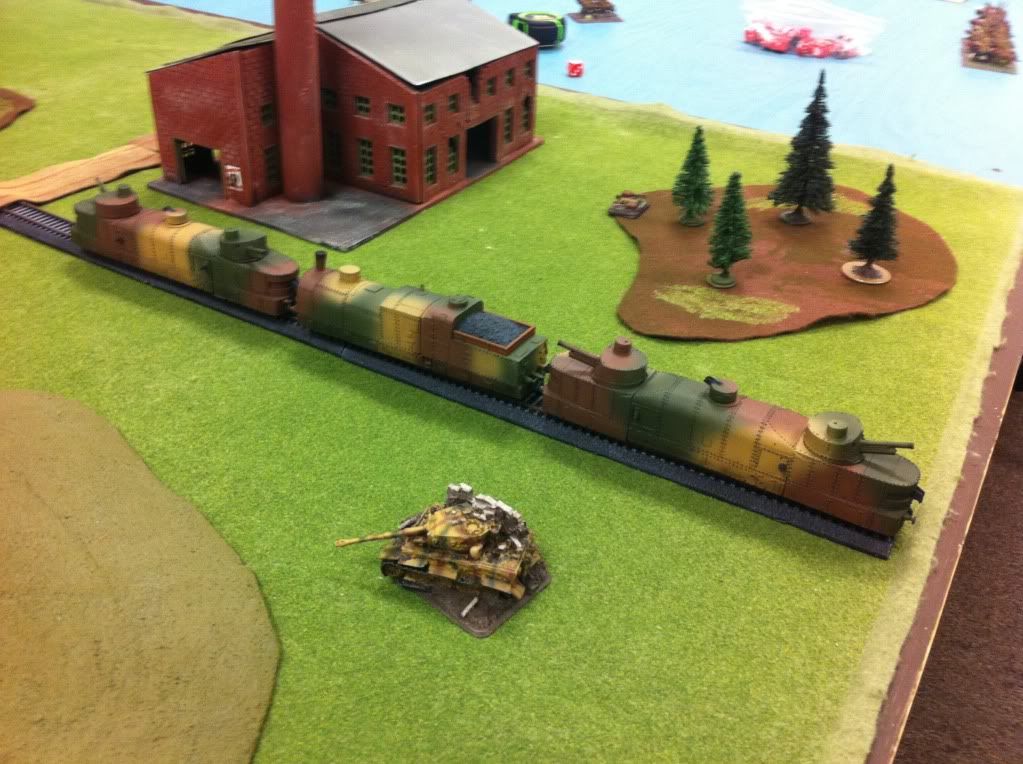 |
| Train! |
| Scott's Polish Lancers | Alex's Bersaglieri
|
| Scott's Polish Lancers: Bypassed hooves show up and surround the arty. Train kills one 100mm gun. ATG move towards the middle of the board to take advangtage of Horse Artillery rules. At first I assaulted the 100mm guns with the bypassed hooves, wiped them out, and consolidated on the objective, before I reread and noticed they can't assault the turn they come on. So we backtracked it a few minutes and continued. Alex's Bersaglieri: Tanks charge to towards the hooves in a desperate rescue mission. MG fire does not kill any hooves. | |
TURN 2
 |
| ATG move towards the middle |
 |
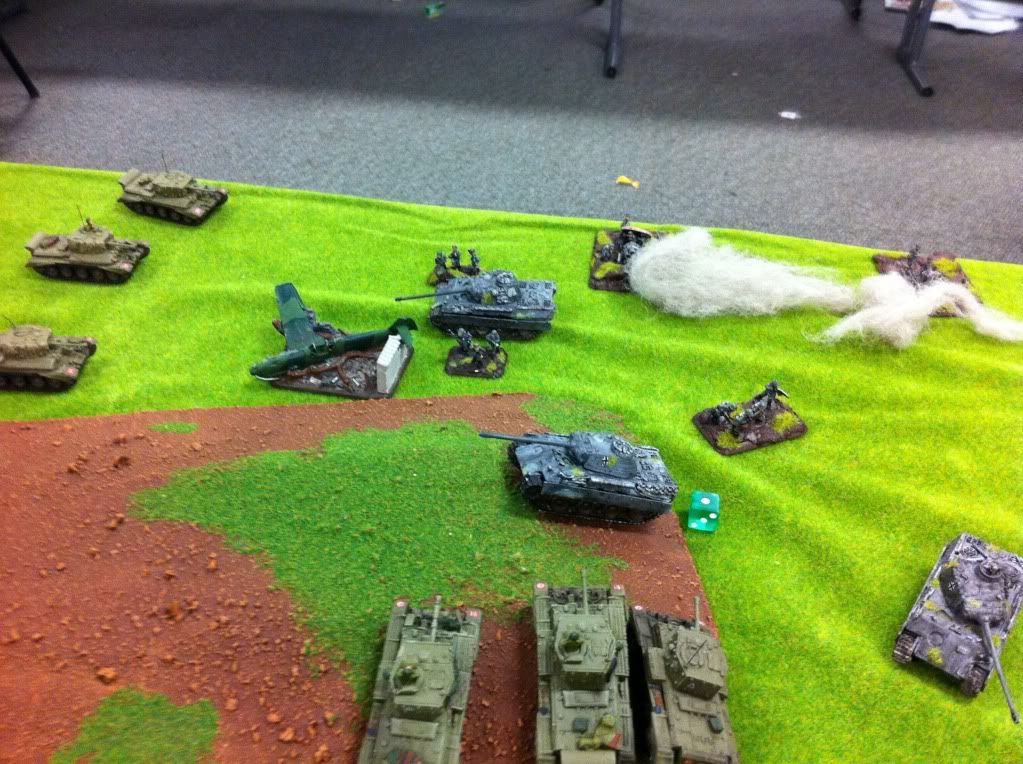
| Uh, are we supposed to be scared by horses? |
 |
| Yep. Horses were scary. |
 |
| Shoot those hooves! |
 |
| Hooves take the crashed plane! |
Scott's Polish Lancers
| Alex's Bersaglieri
|
| Scott's Polish Lancers: Well after learning they couldn't assault turn one, the hooves assault turn two, and as expected, murder over the arty, consolidating well in front of the objective. Alex's Bersaglieri: MG fire kills several hooves, but not enough to force morale. | |
| Well, a very fast 6-1 for the Polish lancers. This is very atypical of their usual performance, but shows what can happen when you get lucky enough to get bypassed turn one, and then they show up in the worst possible place for your opponent. We have a rematch scheduled for Sunday! |
More pictures of the Polish lancers and their wonderful bendy lances available at http://s239.photobucket.com/albums/ff252/piperider361/Polish/
Generated by WWPD's BatRepper Software.
1750 Desert Rats vs 91st Dismounted Cav
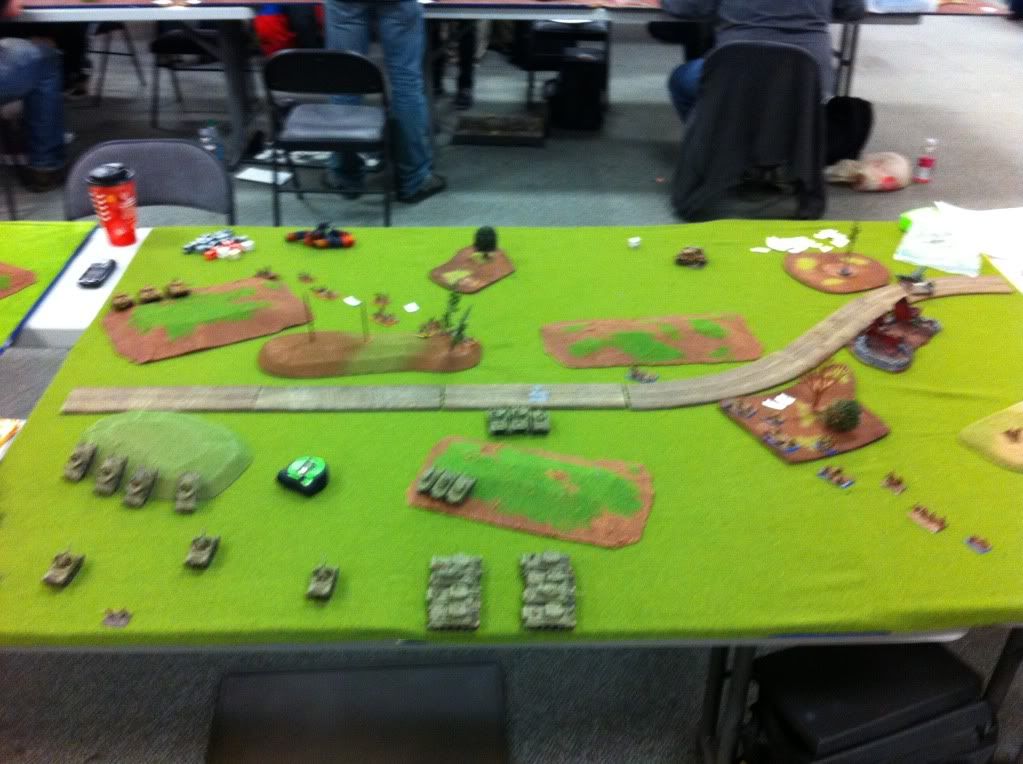
| Pickup game vs Al's 91st Dismounted Recce Cav. Mission is encounter. |
Scott's Desert Rats
|
Al's 91st Dismounted Cav
|
SETUP AND DEPLOYMENT
 |
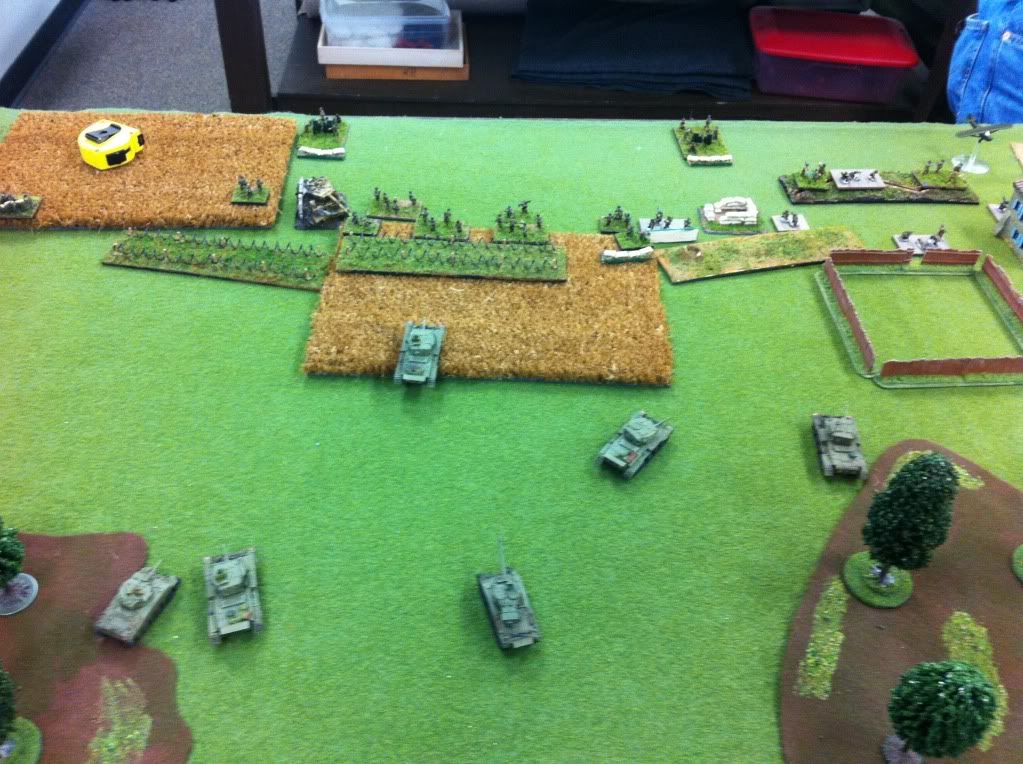
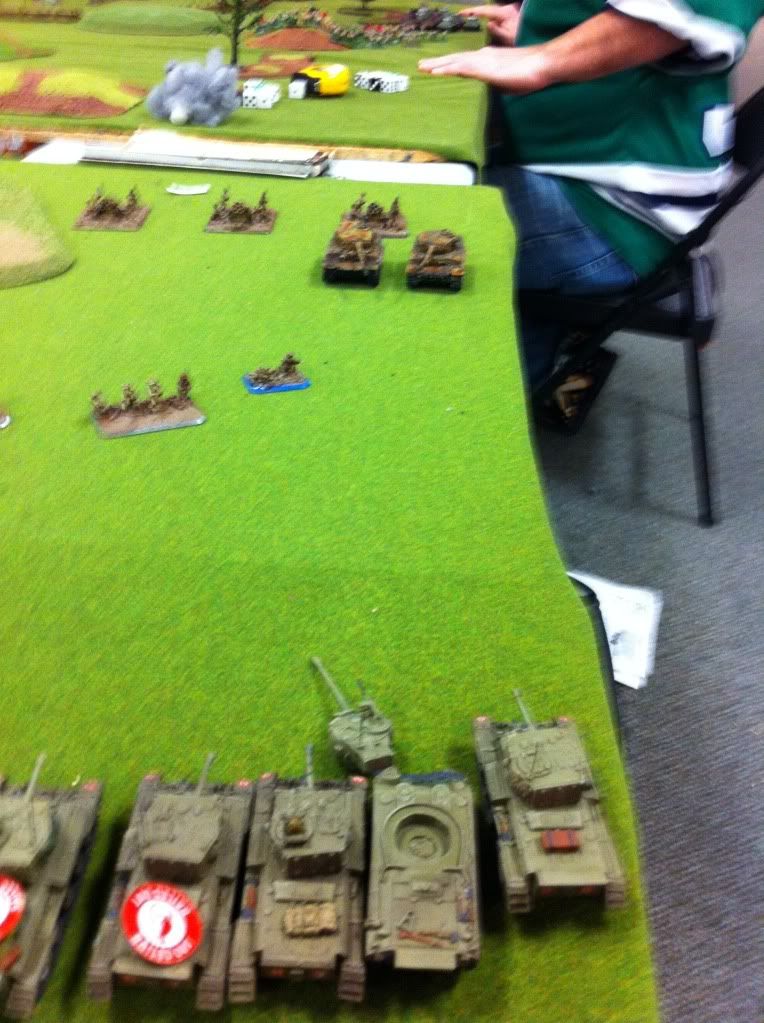
| My left flank |
 |
| My right flank |
 |
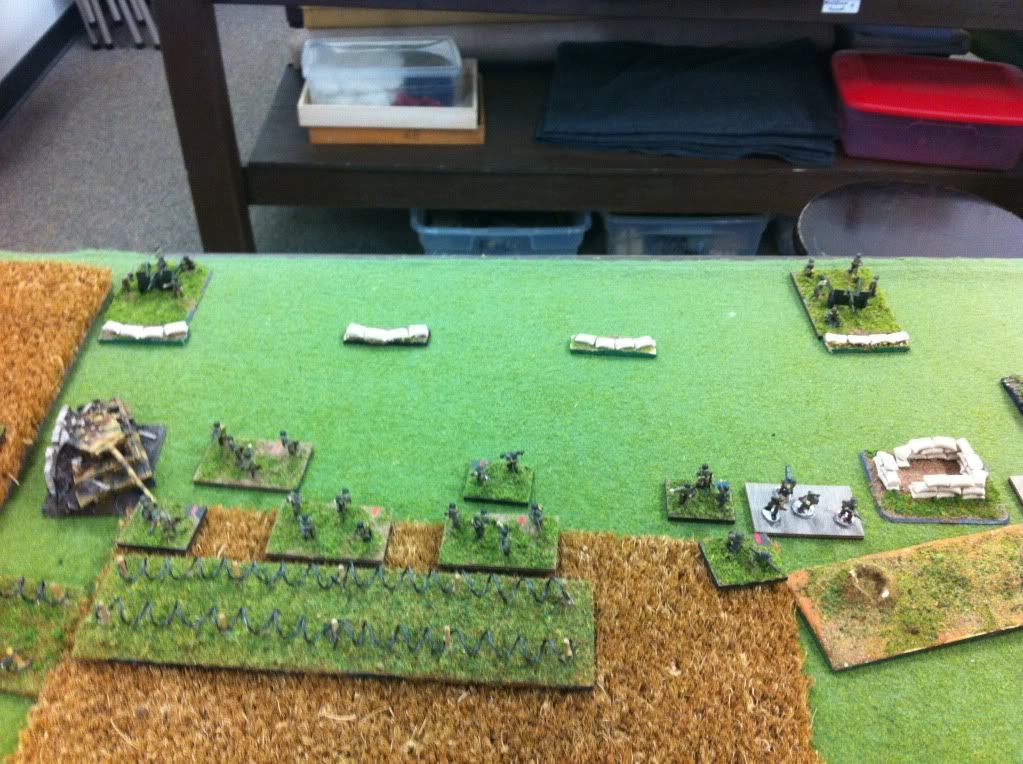
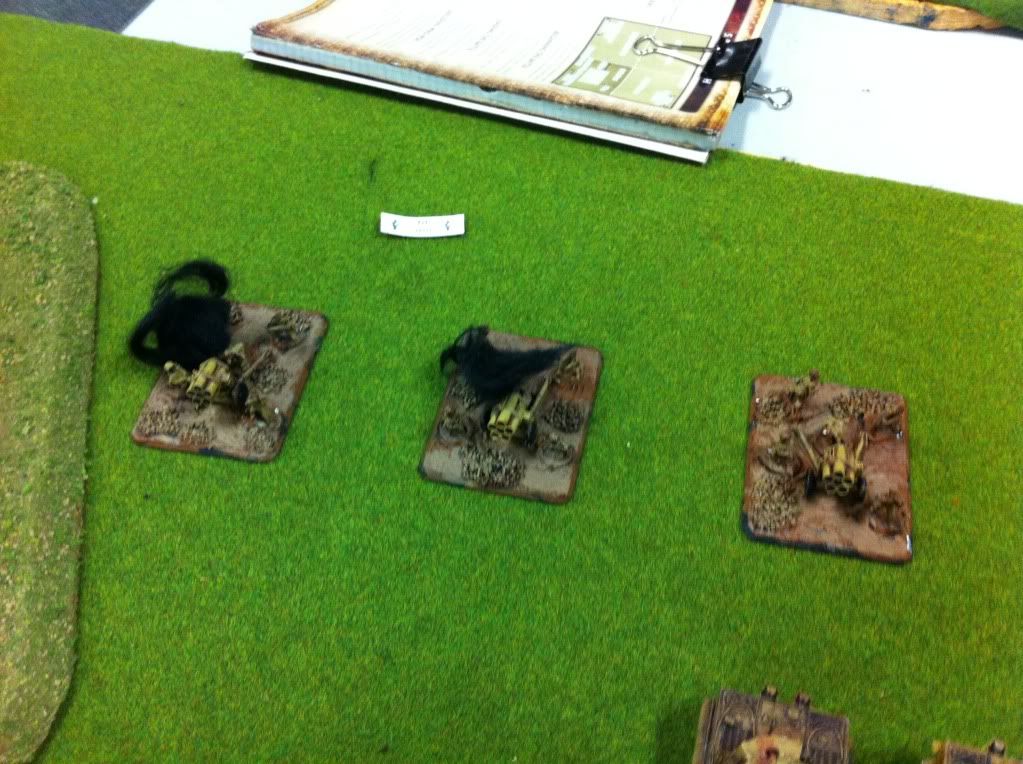
| My left flank - Al's side of the board - 105s with boots in front |
 |
| My right flank - Al's side of the board |
Scott's Desert Rats
|
Al's 91st Dismounted Cav
|
| Scott's Desert Rats: The train track embankment more or less splits the board for me, as we played it impassable to tanks. I put one CW squad on each side. Al's 91st Dismounted Cav: 155s and 105s split on each side of the embankment. Boots line up the board. | |
TURN 1
 |
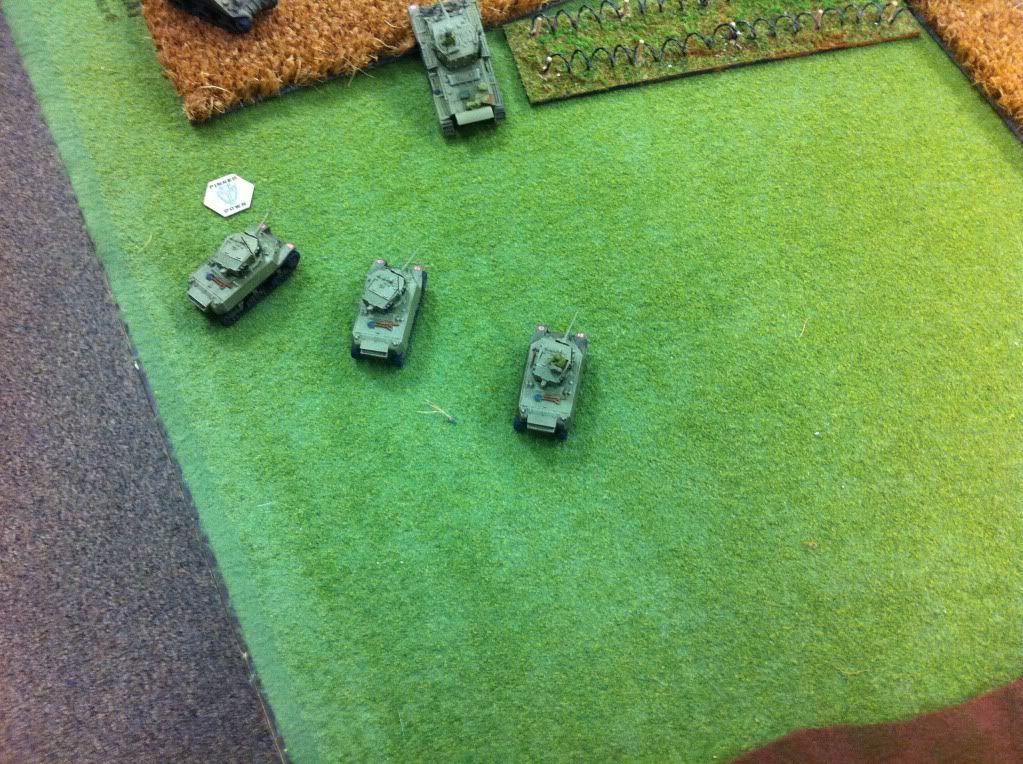
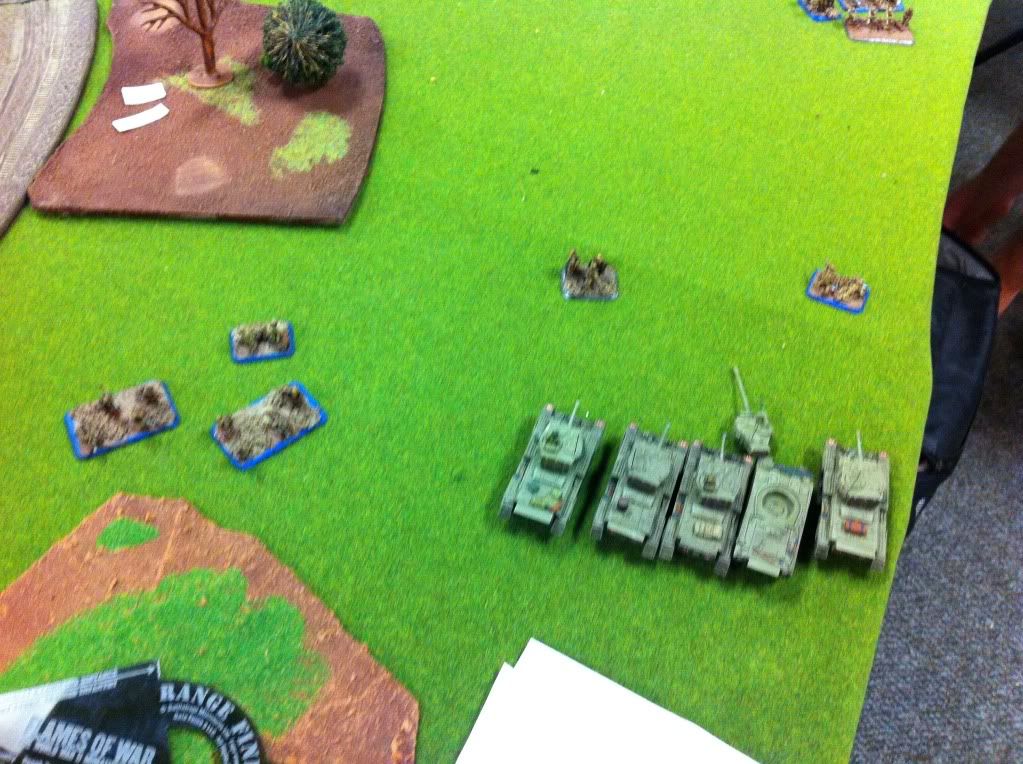
| Right flank Cromwells move up |
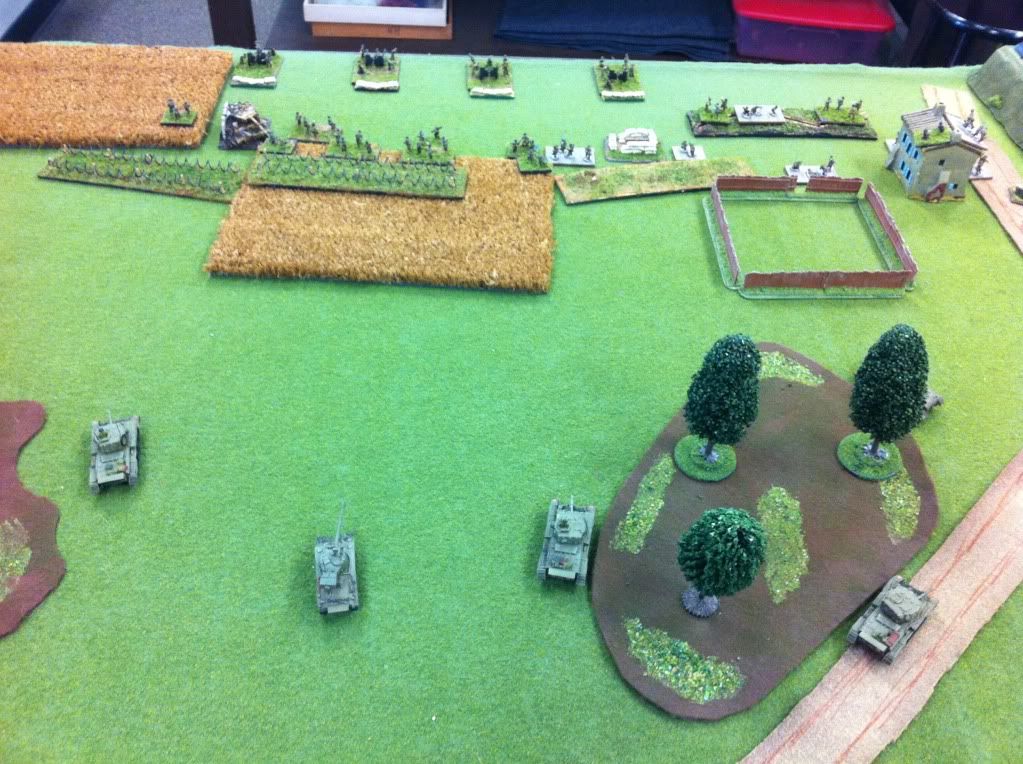 |
| Left flank Cromwells move up |
| Scott's Desert Rats |
Al's 91st Dismounted Cav
|
| Scott's Desert Rats: Cromwells move up on both flanks. MG fire kills a single dismounted boots stand. Al's 91st Dismounted Cav: Arty funs all direct fire, as they did for most of the game. I never really gave Al more than one tank under the template, so I guess this was the best plan, but I did have a 3+/4+ save from them. 105s bail a firefly. | |
TURN 2
 |
| Firefly REALLY dosnt want to get back in! (CiC reroll) |
 |
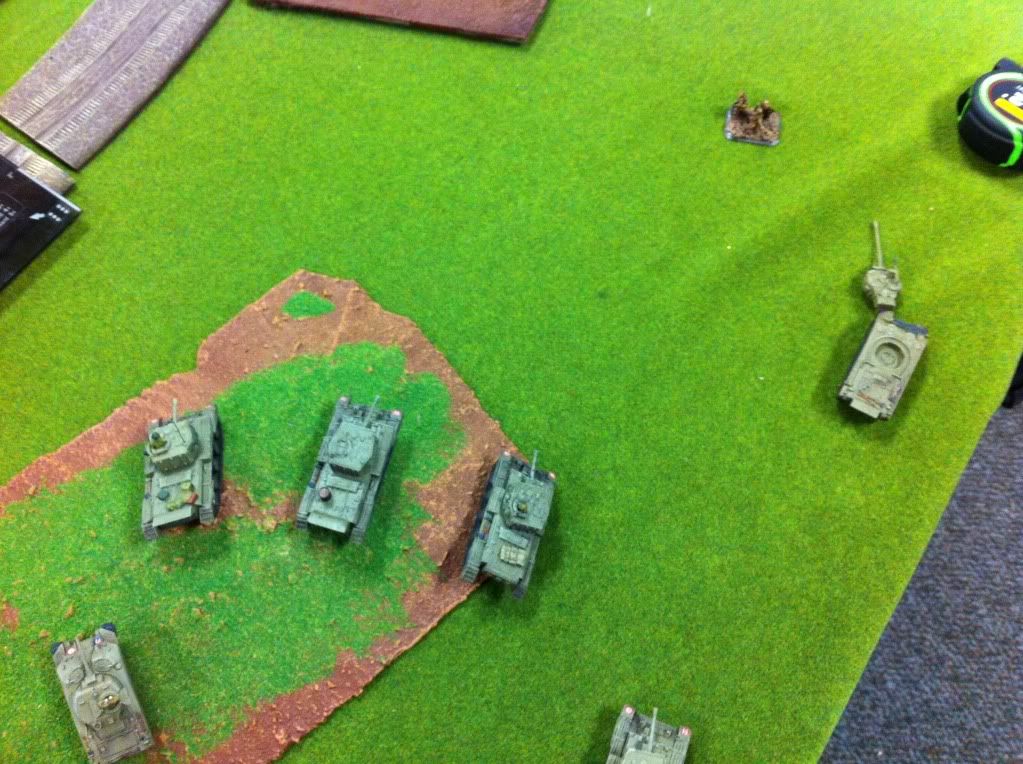
| Cromwells take out two 105s |
 |
| Right flank Cromwells take out a single 155 |
 |
| 155s direct fire kill the right flank firefly |
Scott's Desert Rats
|
Al's 91st Dismounted Cav
|
| Scott's Desert Rats: Cromwells unload semi-indrect fire into gun teams. Kill two 105s, one 155, and a HMG nest. Al's 91st Dismounted Cav: 155s kill one firefly. | |
TURN 3
 |
| Rigth flank kills a second 155 |
 |
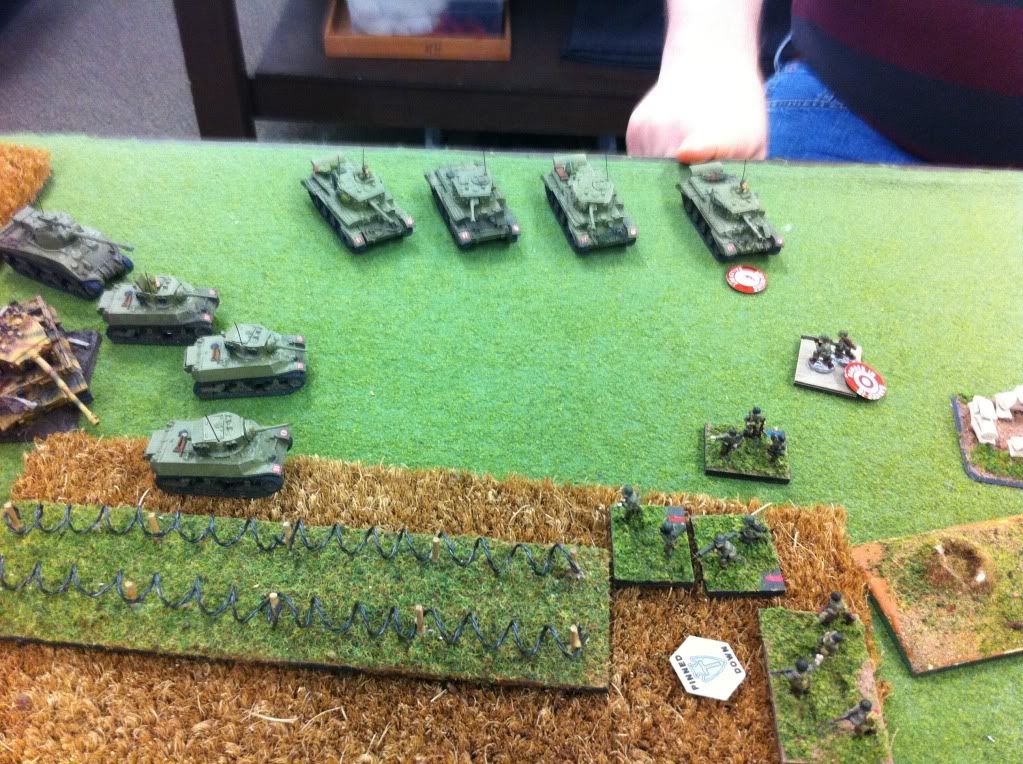
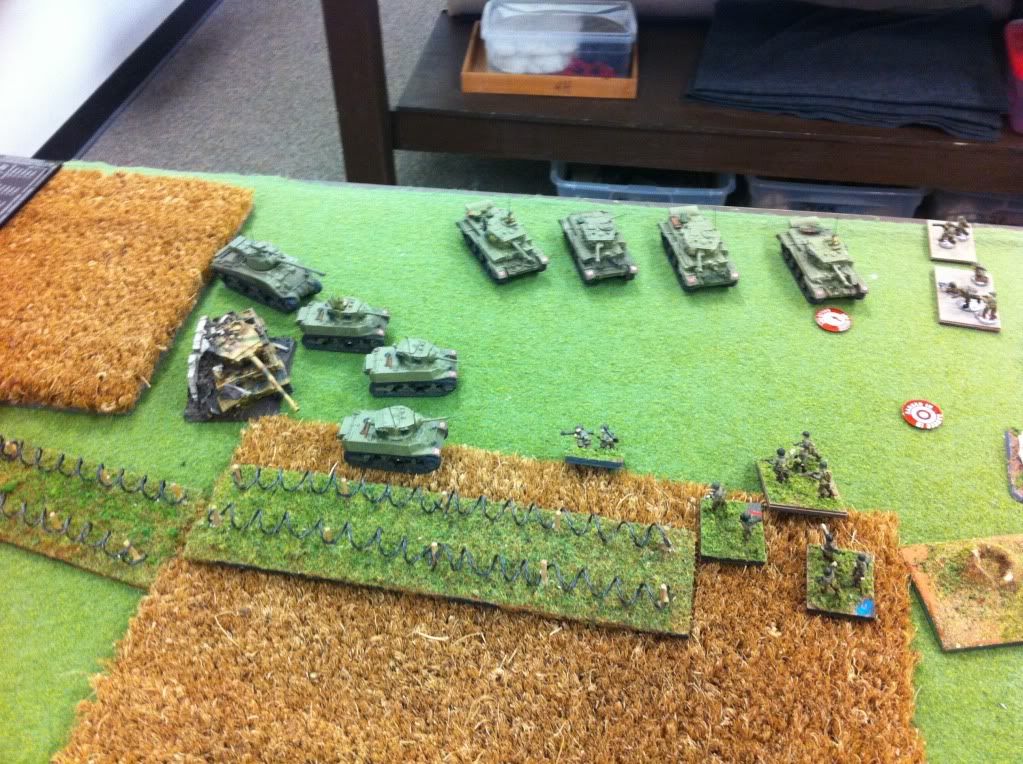
| Feeling confortable on this side of the barbed wire, some Cromwells move up to MG some infantry. |
Scott's Desert Rats
|
Al's 91st Dismounted Cav
|
| Scott's Desert Rats: Killed a single 155. A couple cromwells move into better MG positions. Al's 91st Dismounted Cav: Nothing of consequence. | |
TURN 4
Scott's Desert Rats
|
Al's 91st Dismounted Cav
|
| Scott's Desert Rats: Cromwells kill another 105. Al's 91st Dismounted Cav: Nothing of consequence | |
TURN 5
 |
| Al's reserve's rolling in |
Scott's Desert Rats
|
Al's 91st Dismounted Cav
|
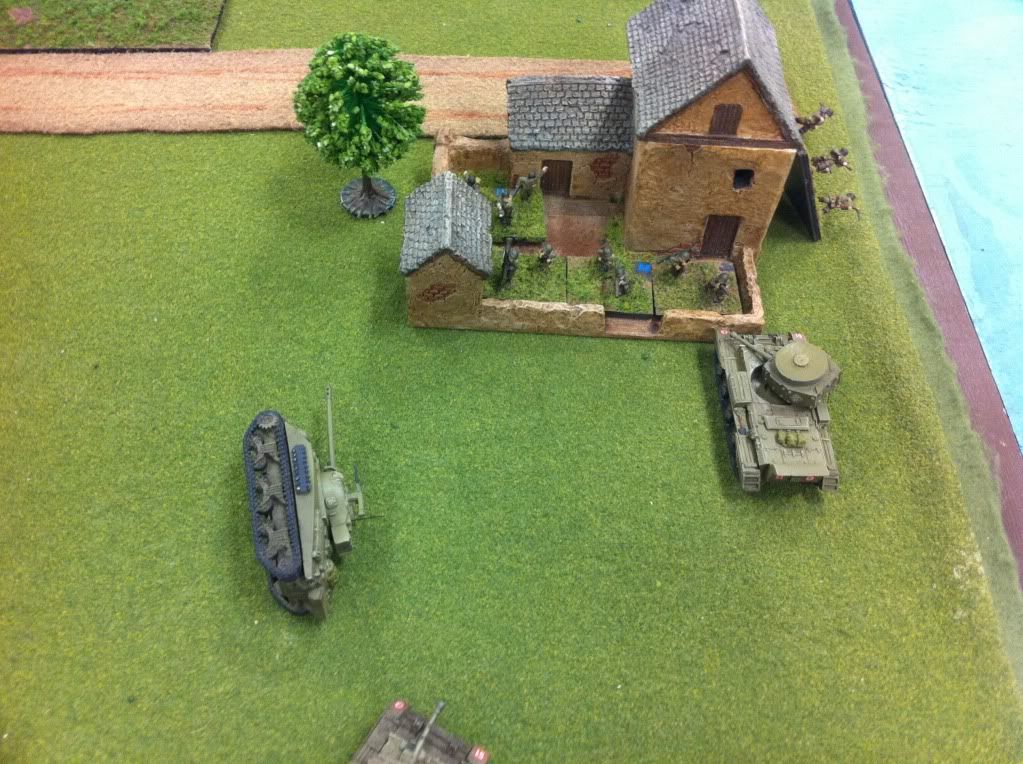
| Scott's Desert Rats: Despite 3 main gun hits on the remaining 155s, they all save! Al's 91st Dismounted Cav: Short div cav comes in on the right flank and takes over a farmhouse. | |
TURN 6
 |
| After assaulting and breaking off, the Cromwells move back to the edge |
|
| Maybe this isn't such a great idea.... |
|
| Al's chem mortars and one short engineer squad come in on this corner |
Scott's Desert Rats
|
Al's 91st Dismounted Cav
|
| Scott's Desert Rats: Cromwells assault and kill off the last 105, although the command and staff teams survive, being far away from the action. The Cromwells breakthrough into the large boots squad, kill a single stand, and end up breaking off after one round. Right flank Cromwells assault the bazookas in the building out of boredom, and are quickly taught their lesson. Al's 91st Dismounted Cav: Some of Al's stuff came in on the left flank corner, including a small platoon of Engineers, but they failed the tank terror to assault the flanks of Cromwells. | |
TURN 7
 |
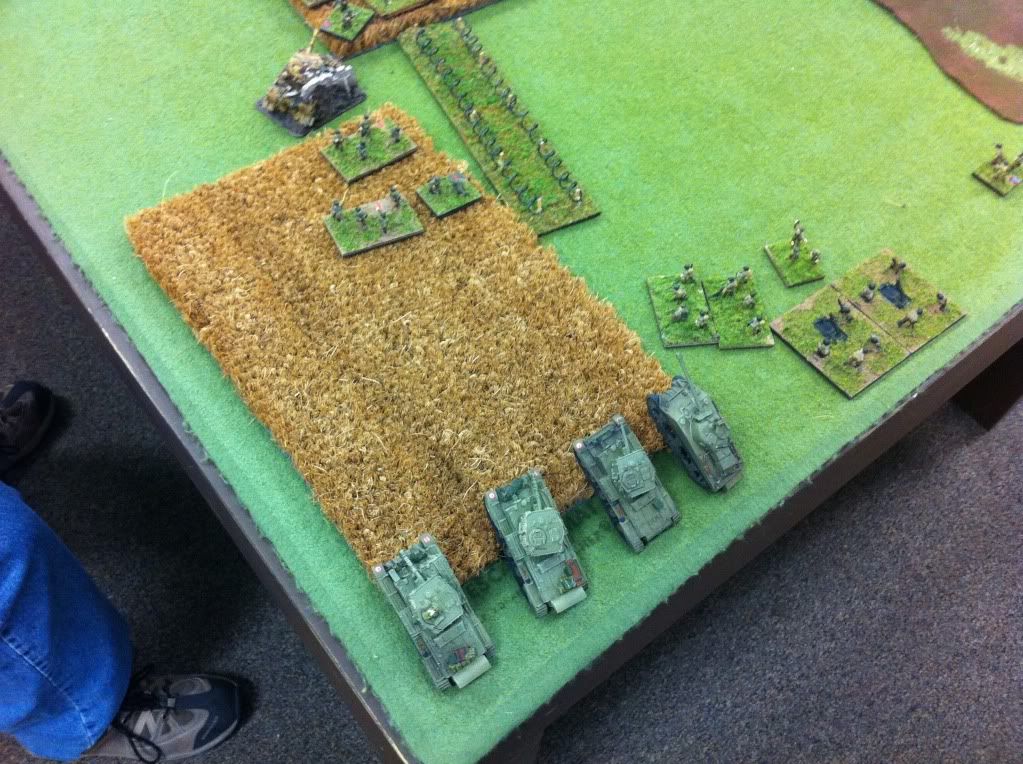
| Stuarts being an awesome assault unit apparently. |
Scott's Desert Rats
|
Al's 91st Dismounted Cav
|
| Scott's Desert Rats: Stuarts assault small engineer boots squad, wiping them out, and then breaking through to the chem mortars. Go staurts. Al's 91st Dismounted Cav: | |
TURN 8
 |
| Wall of steel surrounding the objective |
 |
| Remains of large boots squad move up and attempt to pierce through the wall of steel with no effect. |
Scott's Desert Rats
|
Al's 91st Dismounted Cav
|
| Scott's Desert Rats: Cromwells abd stuarts shoot and assault a couple wounds on the large boots squad pushing them back from the objective. Al's 91st Dismounted Cav: Al moves up and attempts to shoot and assault me off of the objective, but is unable to score any kills. | |
| 6-1 victory for the desert rats. |
Generated by WWPD's BatRepper Software.
Sunday, January 15, 2012
Conflict GT Wrapup
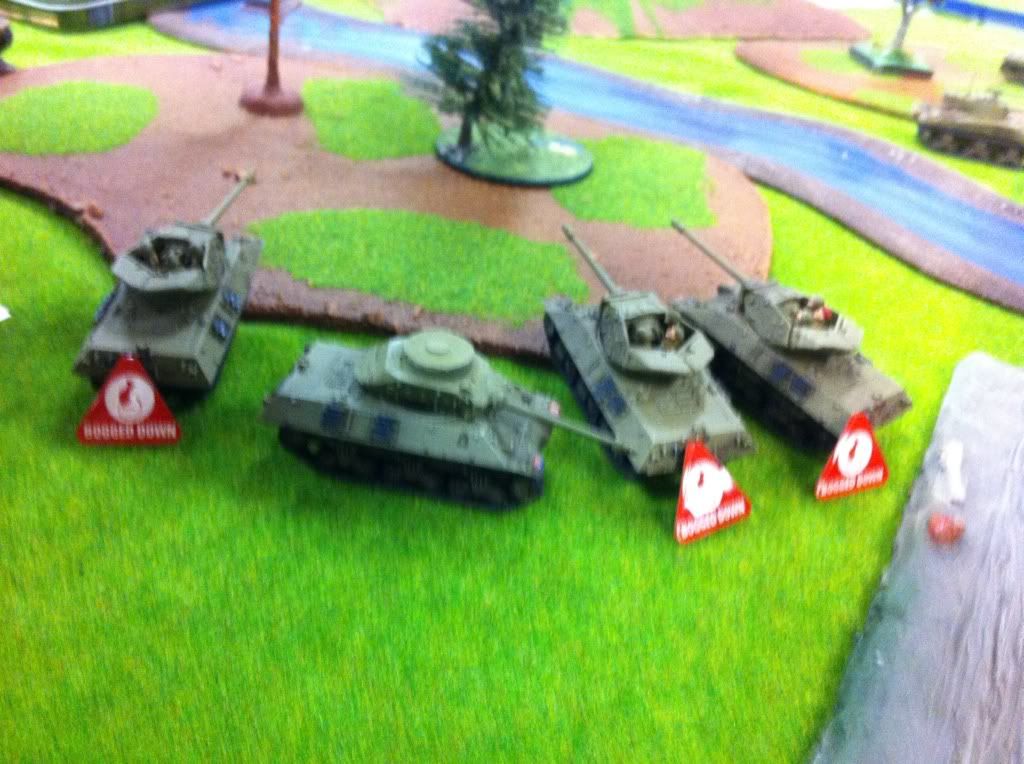
Just a quick recap of the event. I posted battle reports of rounds 2, 4 and 5. I took a standard 7th AD Desert Rats list (3 squads of Cromwells, 4x M10s, 4x Sextons, and Recce). I didn't get enough notes and/or pictures of games 1 and 3 for detailed posts. But a quick summary:
Overall, Conflict Gt was a blast. I had not been to this event before, and did not know what to expect. I was a little worried about the event being held in a mall, but the location was really great - TONS of room, easy access to food, parking, etc. I'm also a big fan of the 5-day, 3 rounds and then 2 rounds setup. And the local crew was awesome, fun, and very hospitable. I will definitely return to this event in the future.
Round One: I played against Payton and his Fallschiwhatever in FFA. He had a list of 2 squads of boots, 2 squads of HMG, 4x 10⁵s, 3x stugs, 3x hetzers, and 2x 88s. I pulled a 4-3 win, but it was very close. There was very little LOS blocking terrain on this particular board, so all of our armor was in the open most of the time.
Round Three: I played against Tom (I think was the name?) and his Panzer Lehr Panzergrenadiers in Hasty Assault. I had not played this mission before. This game was my only loss of the weekend. I charged onto the objective turn two, and we shook hands over a very fast zerg-rushed mission, before we realized you can't win before turn 6 in this mission! I decided to keep all the squads in the corner with the objective and just try to hold out until turn 6, but the rest of my army got piecemealed, and eventually even my blob on the objective was pushed back by the Panzergrenadiers and all of the tank-hunter teams. A well fought and deserved victory for Tom.
All in all, I went 4-1 on games with a total of 24 VP. I also took home the Best Painted for FoW (although it was only 10 people!) It was strict RvB pairings, so everyone played everyone of the opposite faction, rather than using standings for pairings. The best Axis general was the fortified boots platoon I beat in Round 2. I obviously did not play against the Best Allied general, who took Soviet Rota Rezvedki, and I believe he was the only undefeated player as well.
Overall, Conflict Gt was a blast. I had not been to this event before, and did not know what to expect. I was a little worried about the event being held in a mall, but the location was really great - TONS of room, easy access to food, parking, etc. I'm also a big fan of the 5-day, 3 rounds and then 2 rounds setup. And the local crew was awesome, fun, and very hospitable. I will definitely return to this event in the future.
Conflict GT Round 5
| Round 5 Conflict GT. Matt is playing German guys in halftracks. Mission is Free for All. Was a little suprised by the 5th round being a another Free for All (With rounds 1 and 2 being FFA and Encounter, respectively), but I won't complain - light tanks like FFA! |
Scott's Desert Rats
|
Matt's Guys in Halftracks
|
SETUP AND DEPLOYMENT
 |
| My left side. Pile in the tanks. |
 |
| Went with a very weak right flank that he thankfully did not capitalize on. |
| Scott's Desert Rats |
Matt's Guys in Halftracks |
| Scott's Desert Rats: Two Cromwell platoons on the far left. One on the right. M10s in the middle. Stuarts on right. Matt's Guys in Halftracks: Two squads of guys on foot around objectives. One squad in their halftracks on my light right flank has me worried. Hornisse and Panthers deployed central. | |
TURN 1
| Scott's Desert Rats |
Matt's Guys in Halftracks
|
| Scott's Desert Rats: M10s move up and killa Hornisse from long range. Everything else moves up as far as it can go. Matt's Guys in Halftracks: Matt fails to dig in with EVERY SINGLE PLATOON. That probably cost him the game right there. Panthers kill 2 M10s. | |
TURN 2
Scott's Desert Rats
|
Matt's Guys in Halftracks
|
| Scott's Desert Rats: Cromwell MG on the far left unload into un dugin infantry and mortars. Wipe out the mortar squad and lots of infantry. Stuarts take out one HMG with shooting. Matt's Guys in Halftracks: After seeing the horrible losses on the left side, Matt elects to double time his half track guys across the board. I breathe a sigh of relief as they are not pushing my weak right flank. Panthers kill a few Cromwells here and there. | |
TURN 3
 |
| Stuarts finish off HMG platoon and site snuggly in trees on objective. Out of the camera though is a full strength boots platoon to their right in another forest. |
 |
| Infantry on the left die to a torrent of HMG shots, and Cromwells line up for side shots on Panthers, but fail to kill any. |
Scott's Desert Rats
|
Matt's Guys in Halftracks
|
| Scott's Desert Rats: Two living M10s have double shots on halftracks. Kill 3 tracks, all passengers die. Bail a 4th track. Platoon stays on my turn, but fails last man standing on his. Stuarts assault and kill off HMG platoon. Matt's Guys in Halftracks: | |
TURN 4
Scott's Desert Rats
|
Matt's Guys in Halftracks
|
| Scott's Desert Rats: I am sitting on both objectives, but they are both contested. The left side has two infantry stands and a CiC intermingled with 3 Panthers, so assaulting looks grim. Matt's Guys in Halftracks: Matt brings the infantry out of the woods near the Stuarts and assaults them. The Stuarts grind them down in assault, eventually being wiped out, but reducing the boots squad to 2-3 stands. | |
TURN 5
Scott's Desert Rats
|
Matt's Guys in Halftracks
|
| Scott's Desert Rats: On my turn 5, the right flank Cromwells move up, shoot, and assault the infantry left over from the Stuart assault the previous turn. They consolidate into a nice wall blocking Panthers from getting to the objective to contest. I will win at the start of turn 6 unless I fail company morale... Matt's Guys in Halftracks: ...and Matt attempts to break my company. He reduces the M10s and 2 Cromwell squads to below half, so I have three platoons to make a reluctant morale test, or I lose, as I used my CiC earlier in the game to soak a Panther hit. One platoon of Cromwells run, along with the M10s, but one platoon remains! | |
TURN 6
Scott's Desert Rats
|
Matt's Guys in Halftracks
|
| I was suprised at the last turn comeback grab Matt accomplished. I ended up barely pulling a 4-3, just one 5+ roll from losing on company morale. It was a very fun game with a lot of swinging back and forth. I think if all his squads did not fail to dig in on turn 1, it would have ended very differently! |
Generated by WWPD's BatRepper Software.
Conflict GT Round 4
| Round 4 of Conflict GT. Mission is Breakthrough. I am the attacker. |
Troy's German Guys in Halftracks
|
Scott's Desert Rats
|
SETUP AND DEPLOYMENT
 |
| Deployment overview |
Troy's German Guys in Halftracks
|
Scott's Desert Rats
|
| Troy's German Guys in Halftracks: Guys deploy in boots, kinda trying to wall me in, but weak in center. Scott's Desert Rats: Sextons in back corner. Two squads of Cromwells and Stuarts kinda in my mid area, facing towards the nebs, but planning to abuse the 16-inch move to push the weak middle. | |
TURN 1
 |
| The door has been opened! |
Troy's German Guys in Halftracks
|
Scott's Desert Rats |
| Troy's German Guys in Halftracks: His turn one does nothing special. Panthers miss M10s. Scott's Desert Rats: Cromwells able to kill a single infantry stand in the middle of the board, opening the middle up to move through. | |
TURN 2
 |
| Panthers run away from the hail of oh-so-very-scary Sextons |
Troy's German Guys in Halftracks
|
Scott's Desert Rats
|
| Troy's German Guys in Halftracks: Panthers kill one M10, bail another. Nebs bail CiC, who will not get back in for a long time. Scott's Desert Rats: Stuarts doubletime towards the objective. Cromwells follow, but do not double time. I forgot that I couldn't win until turn 6, so here I am charging the objective on turn two for no particular reason. | |
TURN 3
 |
| Tigers pop out and kill a firefly |
 |
| Cromwells go neb hunting |
 |
| Cromwells take revenge for the Stuarts, but fail to kill both, allowing the other to drive off |
Troy's German Guys in Halftracks
|
Scott's Desert Rats
|
| Troy's German Guys in Halftracks: AA halftracks (3.7cm) come on an shoot the double timed Stuarts, killing one. Scott's Desert Rats: Cromwells move up to take out Aa halftracks - kill one. | |
TURN 4
Troy's German Guys in Halftracks
|
Scott's Desert Rats
|
| Troy's German Guys in Halftracks: The remaining AA halftrack drives off the board and is sent to the rear. Tiger takes out another squad's firefly. Scott's Desert Rats: Cromwells kill off the nebs. | |
TURN 5
 |
| Boots charge M10s, killing off 2. Squad will need to take that fun reluctant morale now.... |
 |
| ...but they like it. |
 |
| Wall of Cromwells holds off an infantry platoon on the bottom flank.... |
 |
| ....and then counter attack to wipe them out. |
Troy's German Guys in Halftracks
|
Scott's Desert Rats
|
| Troy's German Guys in Halftracks: Troy sets up to charge some Cromwells, but fails to bail them prior to assault, so the assault fails. Scott's Desert Rats: M10s take heavy losses in assault, but the solo survivor manages to hold. Cromwells drive over some boots a lot. Some cromwells on the north end of the board make a living wall of steel to slow the Panthers advance so they won't be able to get on the objective. | |
TURN 6
Troy's German Guys in Halftracks
|
Scott's Desert Rats
|
| Troy's German Guys in Halftracks: I think Troy blows up about half of "wall of living steel" I laid in front of the Panthers, but I didn't record it. The survivors stayed on morale, and the deceased did their job well slowing down the Panther advance. Scott's Desert Rats: Starts turn on the objective | |
| 6-1 Victory for the Desert Rats, although was would have been a 5-2 if not for a super lucky morale roll on the M10s. I was on the objective turn two, so it was just a matter of becoming the "defender" and keeping him off. |
Generated by WWPD's BatRepper Software.
Conflict GT Round 2
| Round two at Conflict GT. Mission is encounter. |
Scott's Desert Rats
|
Drew's Fortified German Infantry
|
SETUP AND DEPLOYMENT
 |
| Generic Overview |
Scott's Desert Rats
|
Drew's Fortified German Infantry
|
| Scott's Desert Rats: I put one squad of Cromwells over the river to race for the objective. M10s in middle. Sextons on my far right along the back edge. Drew's Fortified German Infantry: He has tigers on objective on one side of the river, away from fortified boots. | |
TURN 1
Scott's Desert Rats
|
Drew's Fortified German Infantry |
| Scott's Desert Rats: I move up the left flank. Nothing special. Drew's Fortified German Infantry: Tigers bail one CW, kill another. Pak 40 gets an M10. | |
TURN 2
| Scott's Desert Rats |
Drew's Fortified German Infantry |
| Scott's Desert Rats: 50 cals from M10s kill a Pak40. Smoke the other one. Drew's Fortified German Infantry: He bails another Cromwell. | |
TURN 3
Scott's Desert Rats
|
Drew's Fortified German Infantry
|
| Scott's Desert Rats: M10s take out one Tiger. Drew's Fortified German Infantry: Tiger that didn't die bails some Cromwells. Drew is very good at rolling a 2 for firepower. Stugs come on from reserve and double time towards Sextons (and the objective they are on). | |
TURN 4
 |
| Dead tigers, but lots of reserves come on. Super crowded corner now. |
 |
| Stugs charge and kill the Sexton command stand, but defensive fire from Sextons kills one stug, and the last stug bogs on consolidation. |
Scott's Desert Rats
|
Drew's Fortified German Infantry
|
| Scott's Desert Rats: M10s kill second Tiger. Cromwells move up on objective. One M10 shoots at double timed stugs and kills one. Drew's Fortified German Infantry: Infantry pour out from the trenches towards the objective. Drew gets two squads of reserves that both come into this crowded corner. He barely has room to fit them all, and ends up with a giagantic mess of intermixed infantry and nebs in the river. Drew assaults Sexton command stand, even after I point out that the Sextons will defensive fire on the sides of the Stugs. He thinks about it for a minute, and goes ahead with it. Not sure what was going on in his mind here. | |
TURN 5
Scott's Desert Rats
|
Drew's Fortified German Infantry
|
| Scott's Desert Rats: M10s finish off last bailed Stug. Cromwells unload MG into the infantry squads. Drew's Fortified German Infantry: Nothing of note. | |
TURN 6
 |
| I decide to move M10s into the woods as their usefullness has passed with no armored targets left, and I can quit smoking Pak40s if I get them out of LoS. Imagine the horror as all three bog at the edge.... |
 |
| ...yet they roll a 5 for morale! |
 |
| The Pak40s get a bail on a bogged M10, but they fail squad morale. |
Scott's Desert Rats
|
Drew's Fortified German Infantry
|
| Scott's Desert Rats: I helped Drew kill off one of my own squads. Drew's Fortified German Infantry: Drew laughs as M10s drive into trees. Literally. | |
TURN 7
Scott's Desert Rats
|
Drew's Fortified German Infantry
|
| Scott's Desert Rats: From here on out we actually played several more turns, that consisted of my Cromwells in the corner MG'ing down dug in infantry. So it took a while, but there was no way he could assault the Cromwells off the objective. After the M10 incident, I wasn't going to take any chances making the assault myself, though! I didn't even bother doing anything with my reserves. They came in and just sat on the back edge, so that I could keep bombarding infantry with the Sextons rather than smoking Pak40s to allow the reserves to advance. Drew's Fortified German Infantry: | |
| Won 5-2. Fun game. Drew was a great player, but was at a disadvantage playing Encounter as a fortified boots company vs a super fast armored company. |
Generated by WWPD's BatRepper Software.
Subscribe to:
Posts (Atom)